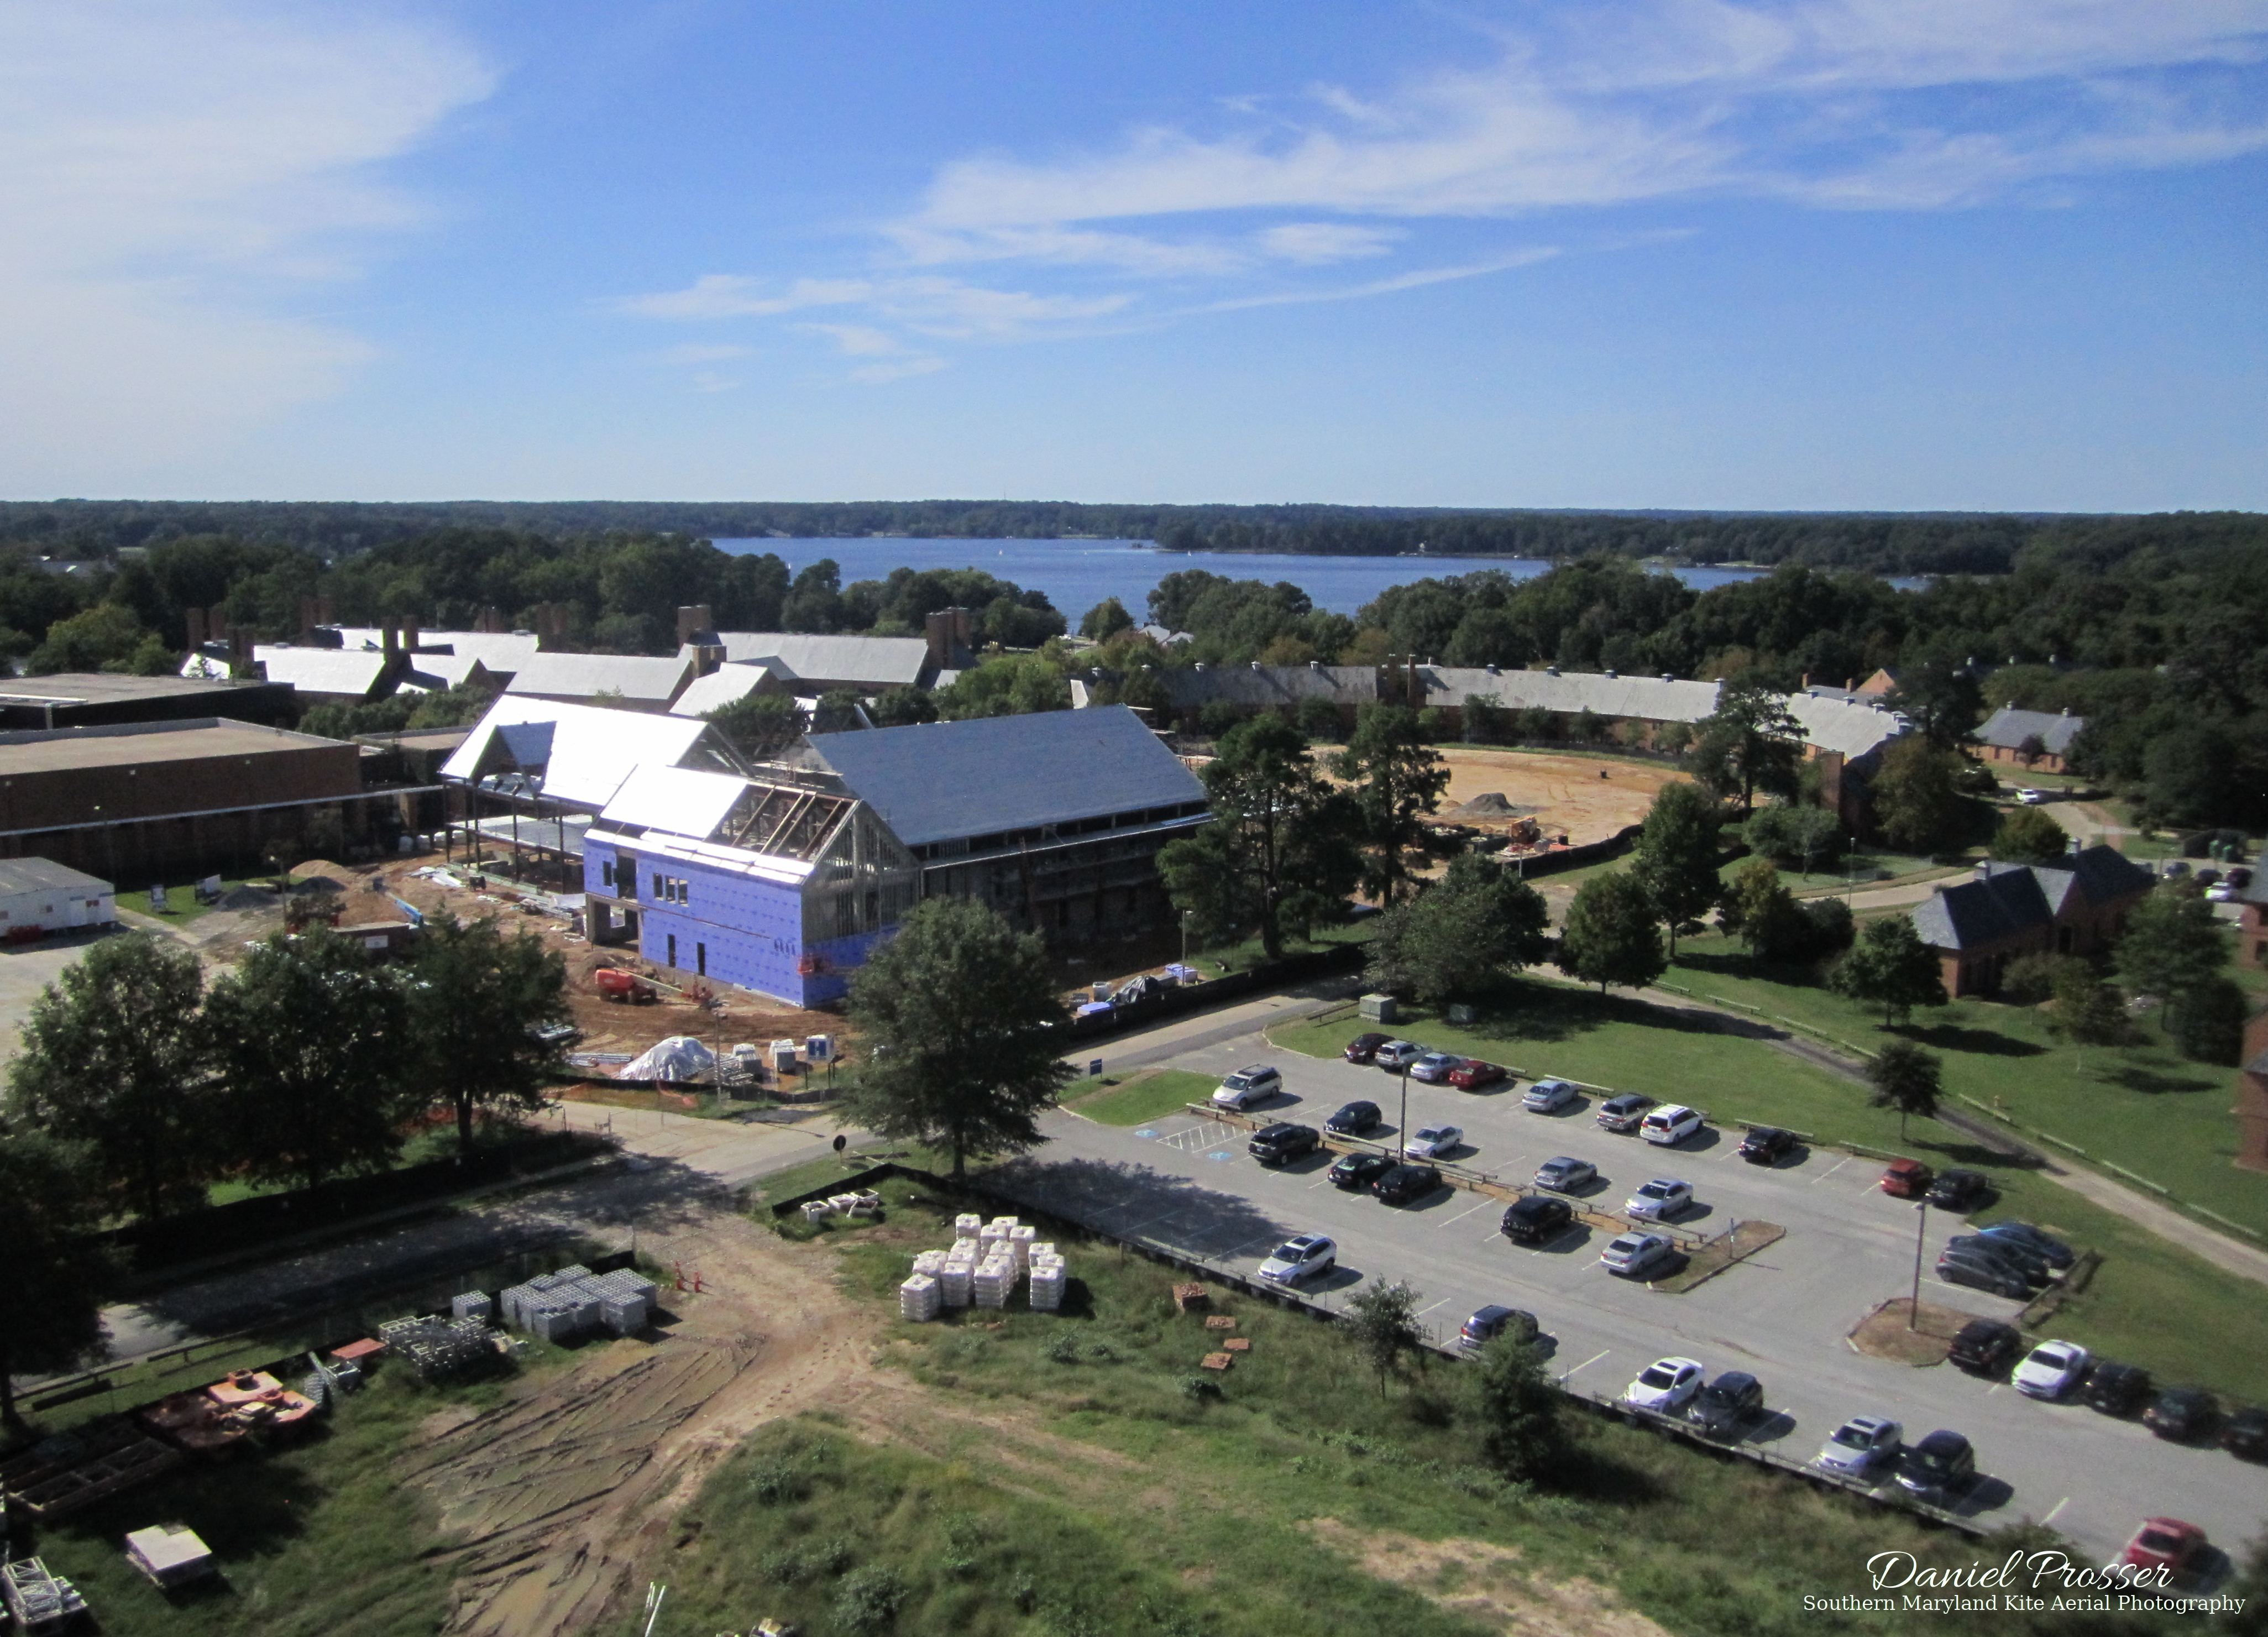
It was time to take some aerial photos of the Chesapeake Bay! As one of the most prominent geographical features of the area, it definitely needs to be featured on this website. I remembered that Elm’s Beach Park, public beach area, exists because I had gone there a few years prior. It’s located about 6 miles south of the Pax River Naval Air Station, as the crow flies.
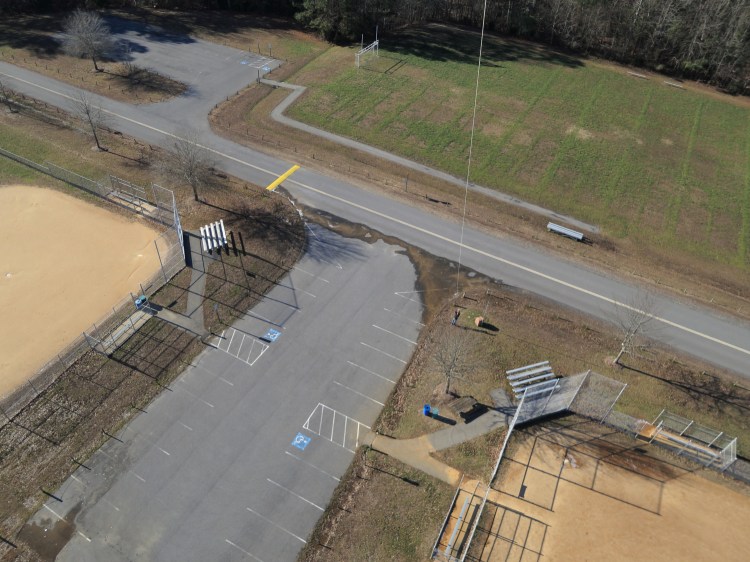
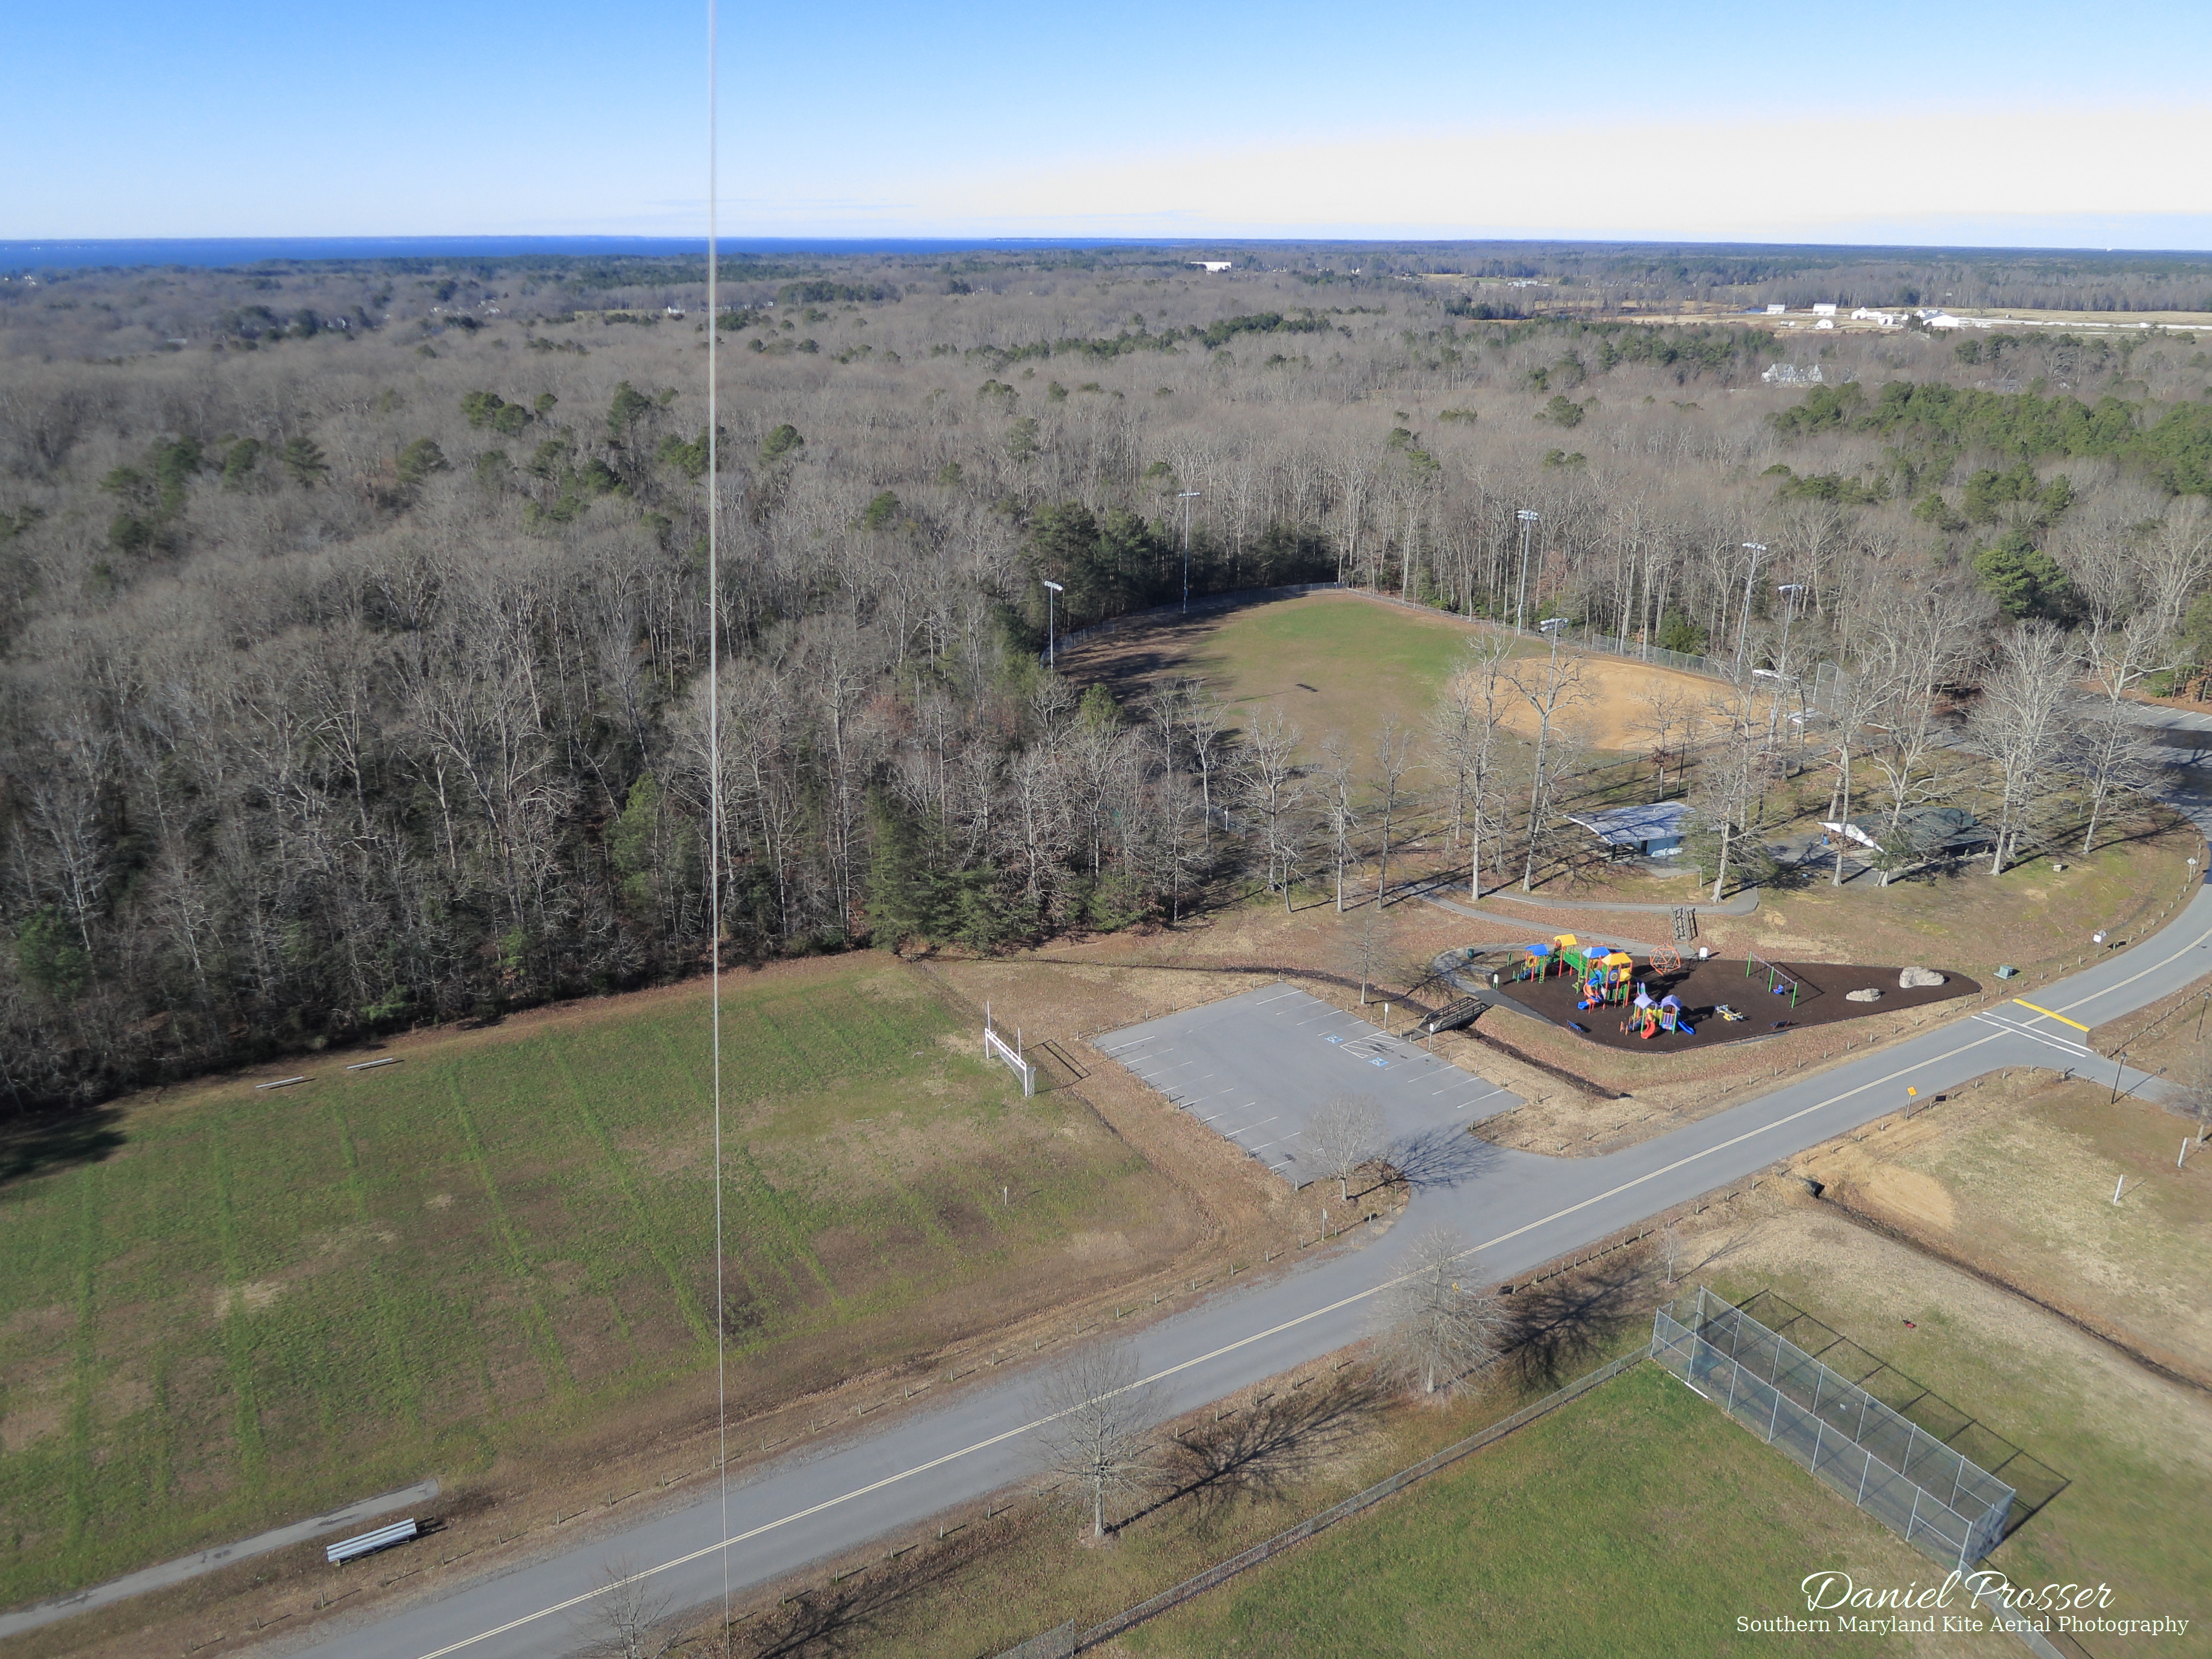
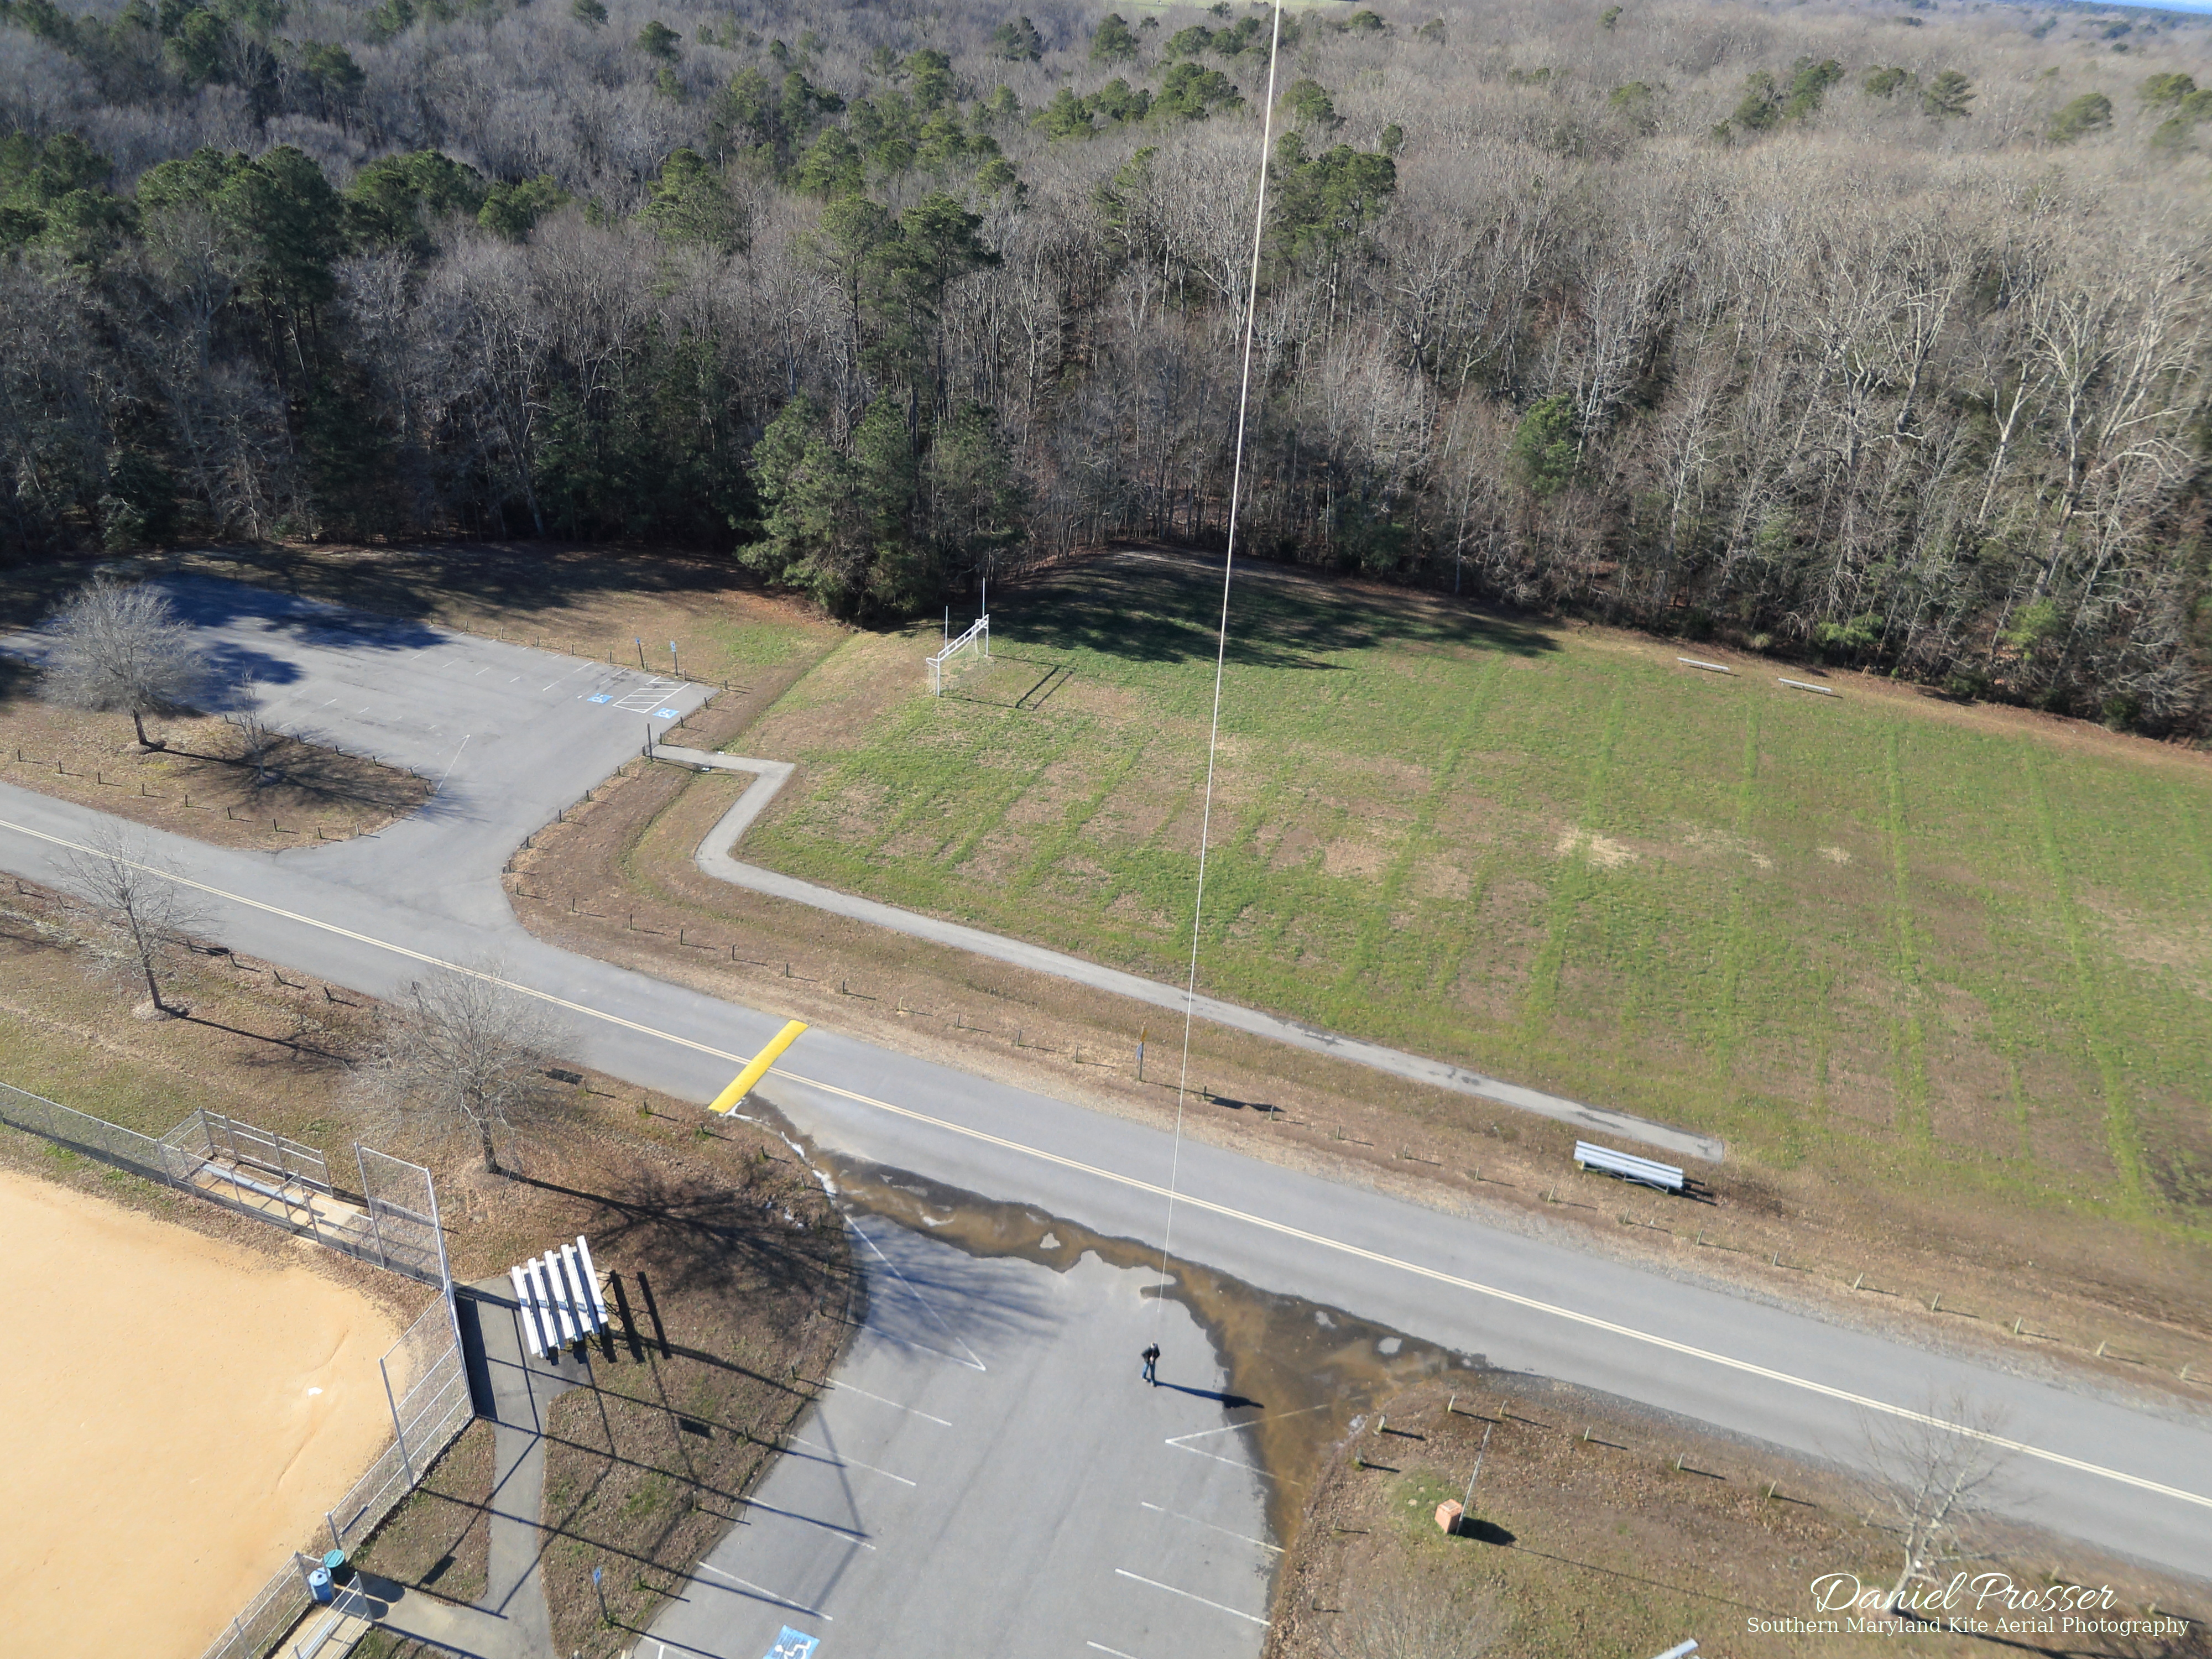
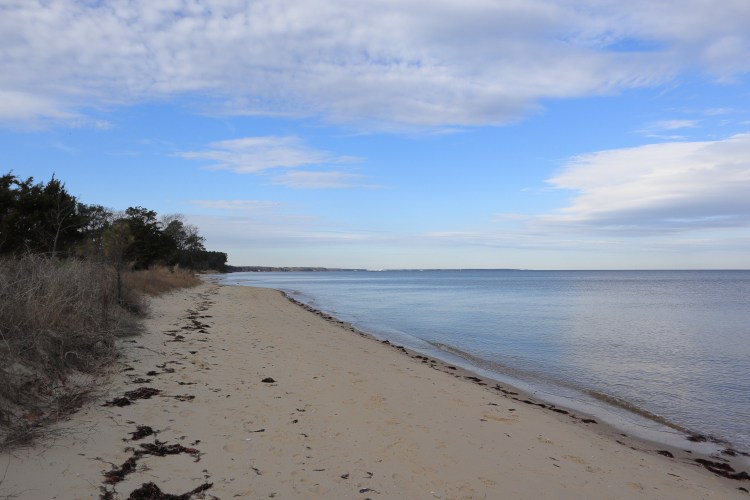
Since it was winter, there was no fee to use the beach, but the main parking area was closed, meaning I had to walk more than 0.6 miles from my car to the beach. That’s not so easy with my kites and KAP gear, especially my 30-lb bag of rocks! It was a pretty walk, though. Down below are pictures of the walk and the beach itself.

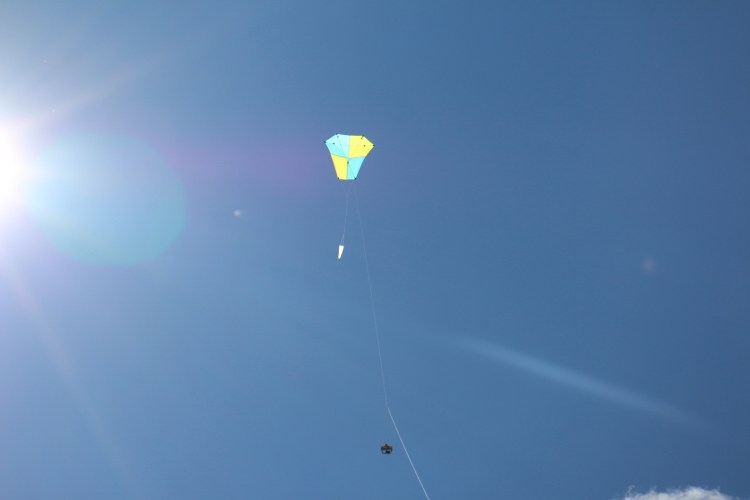
There was a couple of photographers who followed me from my car all the way to the beach who were probably wondering what the dickens it was that I was carrying. 🙂 Well, they would soon find out. We’ll see them a little later in the story. When I got to the beach, the wind was blowing out to sea. The wind strength was definitely in the Mini Dopero’s range, so I assembled it quickly and attached it to the kite line. I also attached the drogue to keep the kite stable in the stronger wind. Just like the last time I flew near the water, the wind was pretty steady, and getting the kite in the air was no problem even though there was no room for a long-line launch.
With somewhere between 50 and 100 feet of line out, I wrapped the winder securely around the straps of my heavy bag of rocks, attached the PowerShot S100 picavet rig, started the intervalometer, and away it went. Now that a couple hundred feet of line were out, the kite was pulling quite hard. Apparently, I should have moved the tow point forward to reduce the force a little bit, but now with everything set up, the idea of bringing it back in and starting over wasn’t too attractive. I could use a workout anyway. The steady breeze offered no time to relax. A few times I had to just put the winder down and sit on it for a few minutes to give my arms a break.

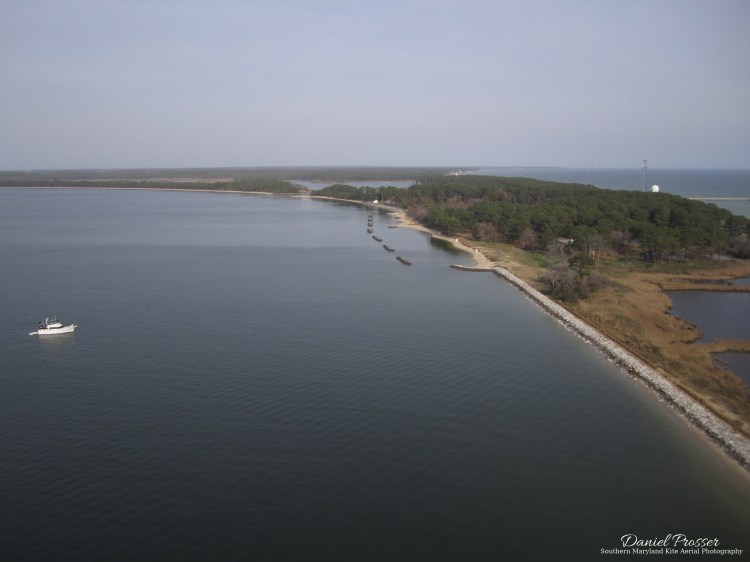
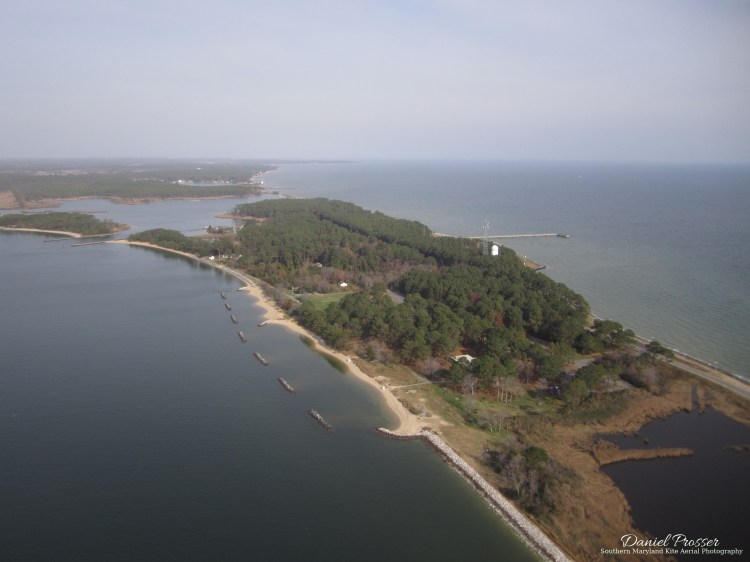
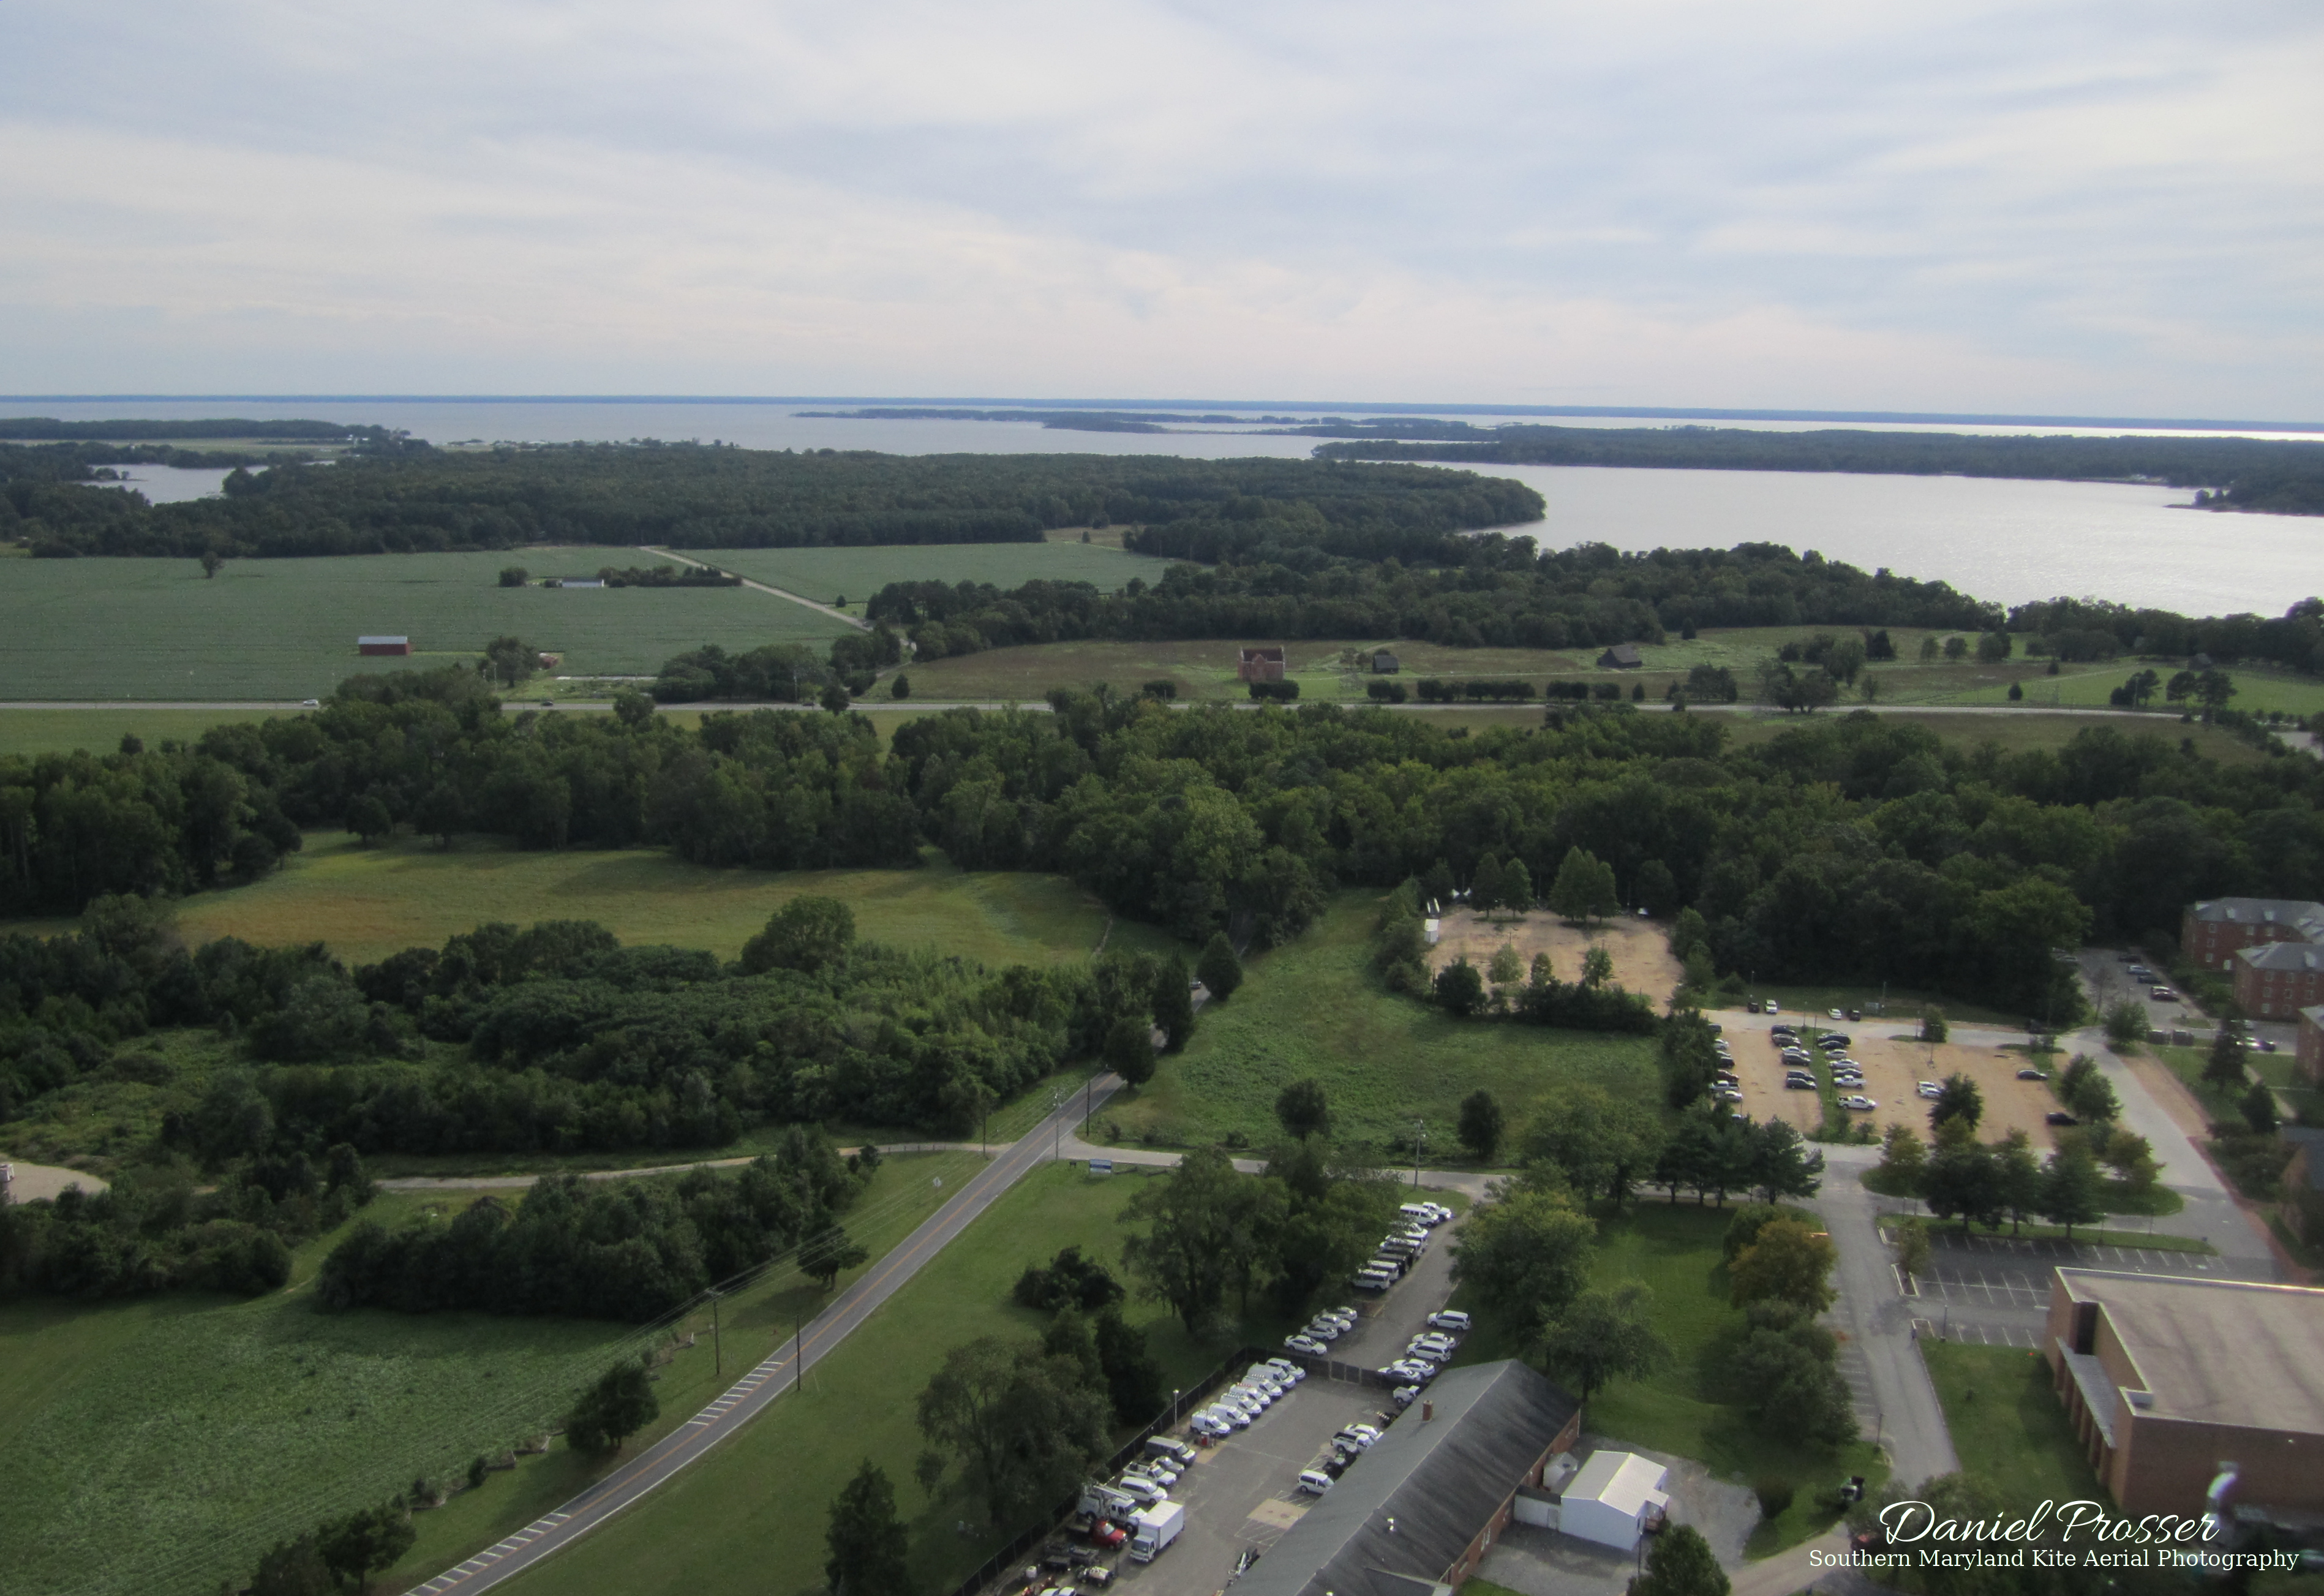
Throughout the course of the flight, several groups of people walked by, some of them commenting and even striking up short conversations about the kite. (Kids were the most interested, as is usually the case.) The first to pass by were the photographers that followed me from the car. They took their time to get to the beach, so they arrived after the rig was already in the air. They continued down the beach past my location, taking photos as they went. Eventually, they arrived at an outlet from the nearby Biscoe Pond into the bay, which is visible in the picture above. There is no bridge to cross over it, so they turned around. When they passed by again, they said hello and seemed appreciative of the kite, although I don’t know if they noticed the camera attached to the line.

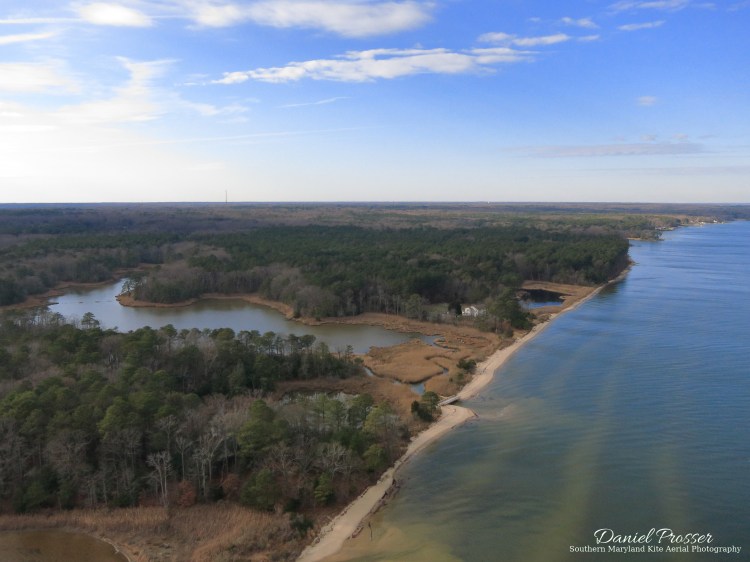
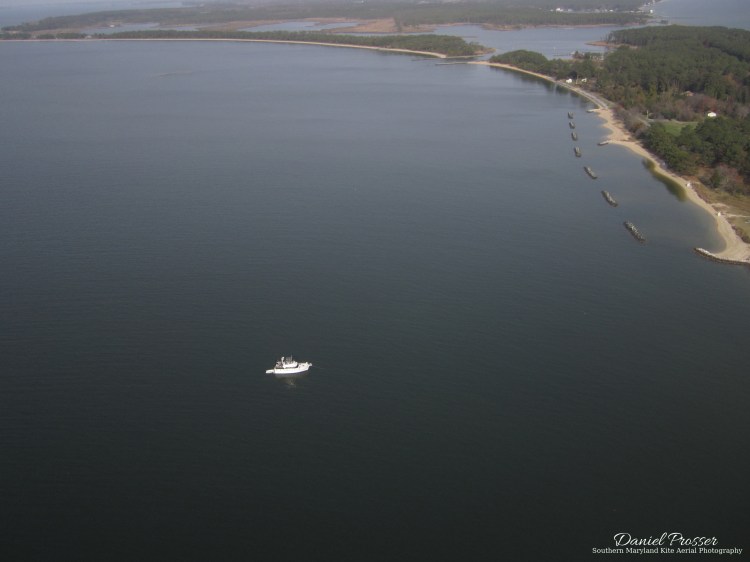
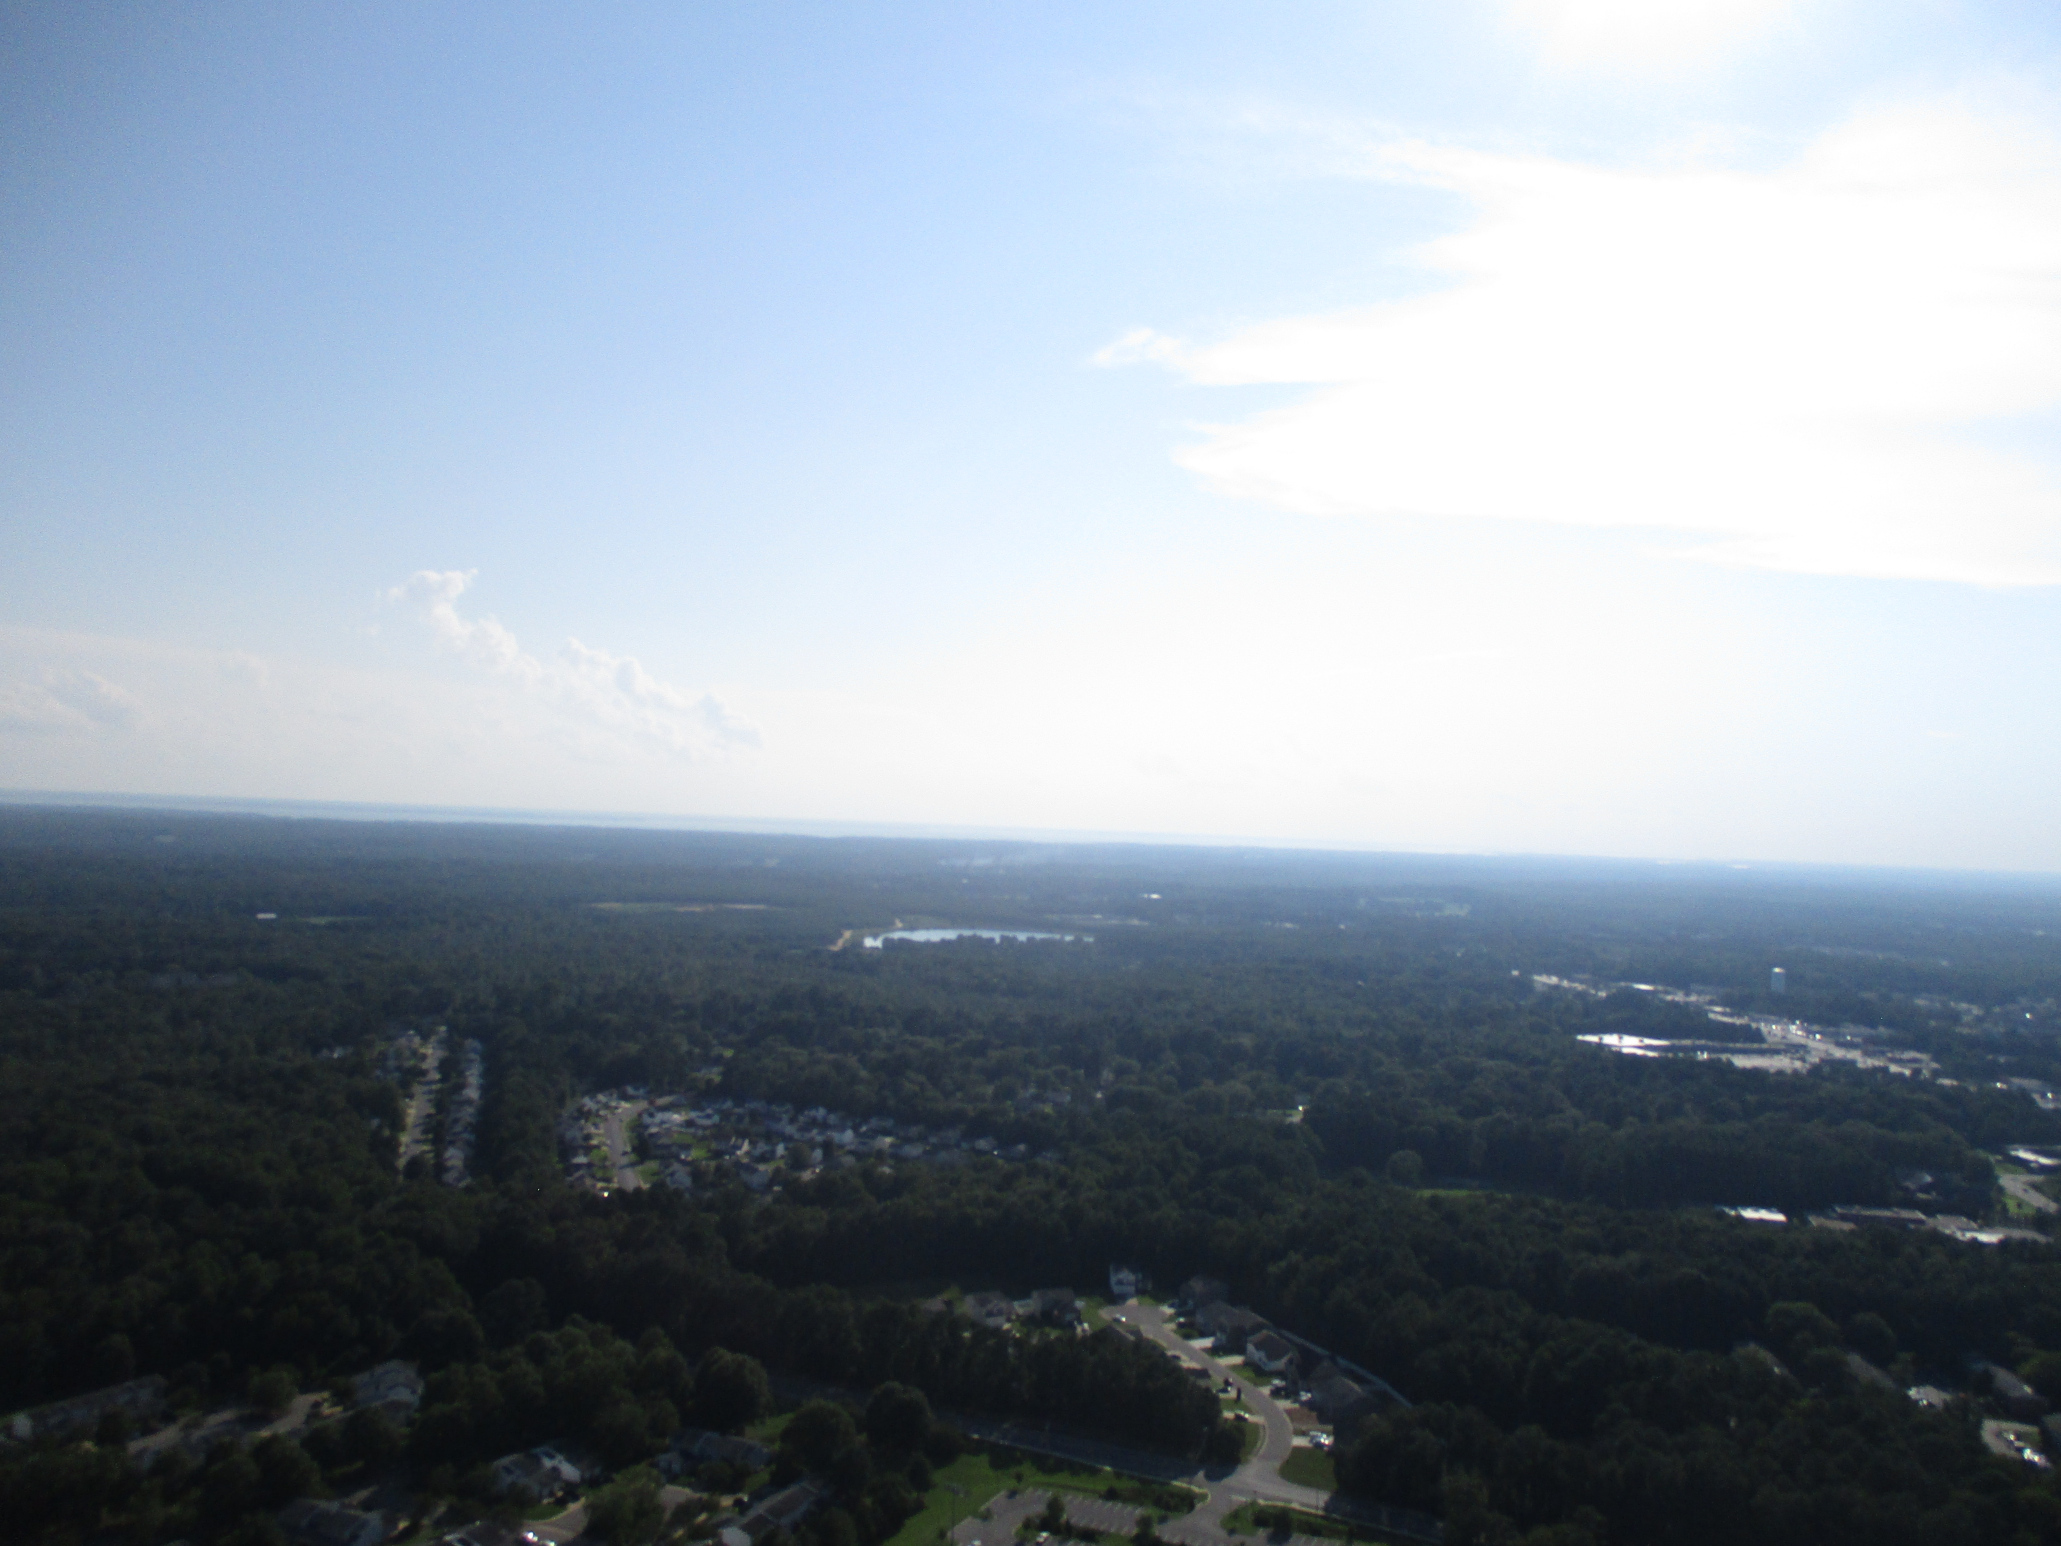
The camera was pointed north to take pictures along the shore. The first picture in the gallery above has the Naval Air Station in view off in the distance. There is a pattern of sandbars just under the surface that run parallel to the shore and were not visible from the ground. Five or six of them can be seen, and they seem to be fairly evenly spaced, the last one being probably a few hundred feet away from the beach. I don’t know if these are unique, but I thought they were quite beautiful and interesting. The second picture looks a little bit more inland, where a small pond and a house are visible. That is actually the second of two adjacent ponds, the first one being Biscoe Pond, which was right behind me. (Google Maps doesn’t give the second pond a name.) Since the camera wasn’t pointed at it, the only time I got a picture of Biscoe Pond was when a gust swung the kite and camera around. It came out very tilted, but anyway it gives an idea of the size and shape…

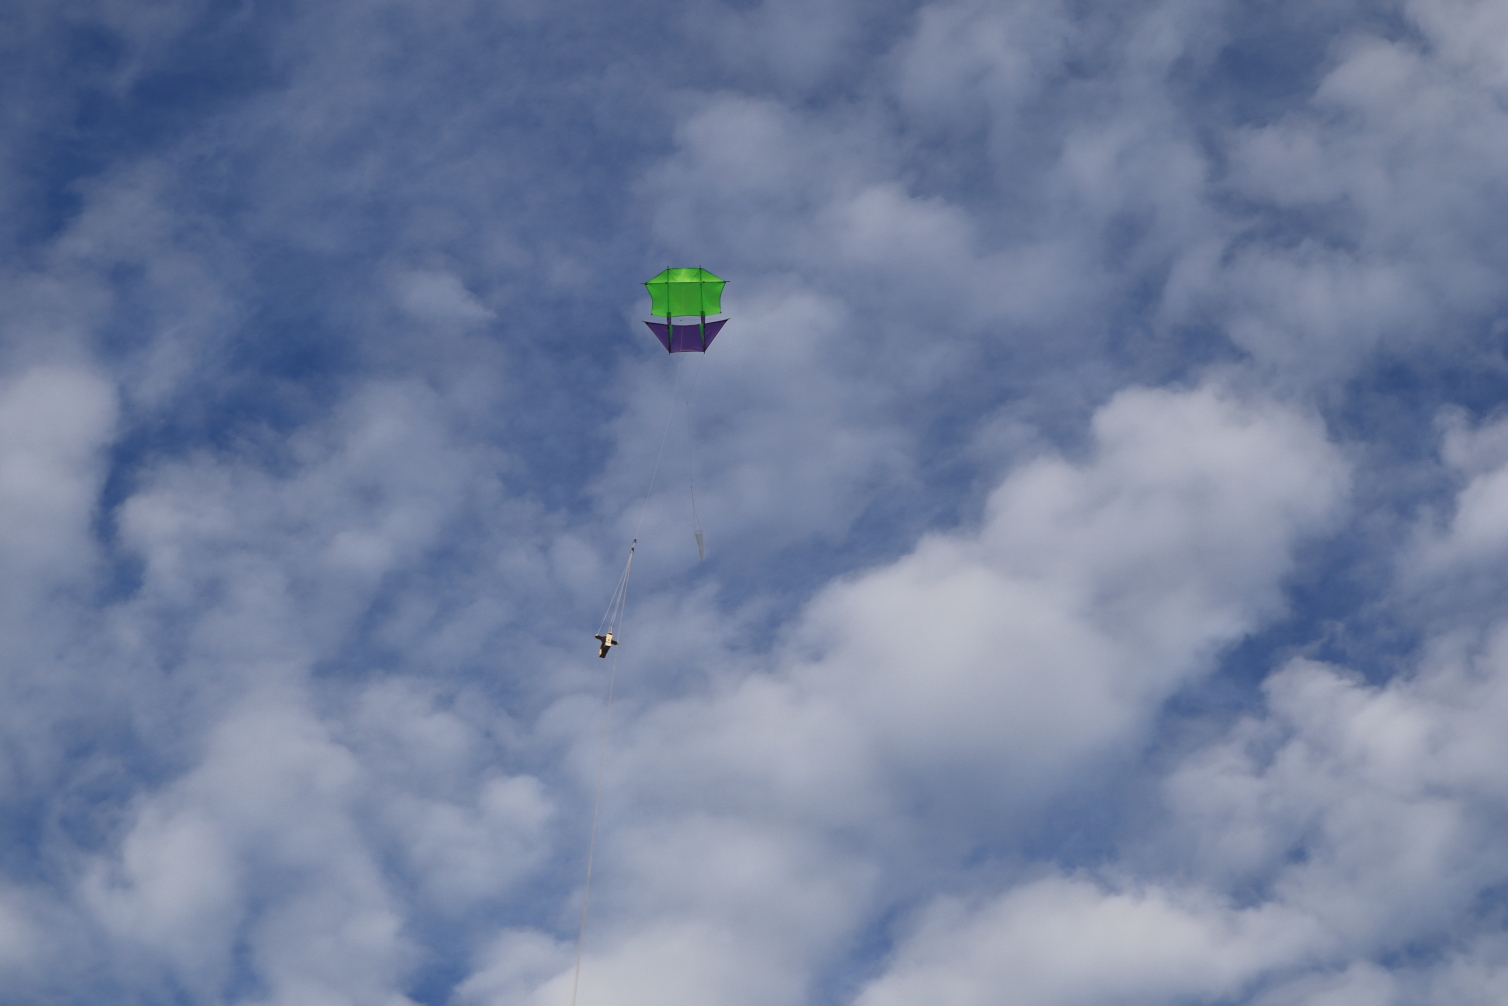
After nearly an hour of grueling work letting out the line, it was time for another grueling hour to bring it back in. Despite the strong winds, the kite never seemed to be in much danger of diving or going out of control. It did pull to one side and then the other for extended periods at times, but there were never any close calls. I took the picture on the left on the way down when the rig was within a hundred feet of me. Eventually, the rig was back down on the ground. That’s when I decided to tie down the kite and try to go take some pictures from the side. What could possibly go wrong?
Well, I did get some nice pictures from the side, including the one below. Doperos are definitely nice looking kites when in the air. Unfortunately, I found out doing this that things could go wrong. Down low the wind is gustier, and without much line extended, the kite doesn’t have much space to recover on its own from a dive. And of course, with me not managing the line, I couldn’t intervene either. You’ve probably guessed by now — the kite ended up in the bay. Thankfully, it wasn’t that far, and I was able to pull it back to shore by the line. Also thankfully, the camera was safely on the ground already. The only loss or damage was the drogue, which must have gotten stuck on something in the water, because it was no longer attached once the kite was retrieved. Hopefully it doesn’t end up choking a baby penguin or something like that.

I flew the kite for a few more minutes to help dry it off, and then I packed it up and made the long walk back to the car. It was a successful but tiring KAP session! You can see all my aerial photos of Elm’s Beach Park at the Elm’s Beach Park Aerial Photos page.