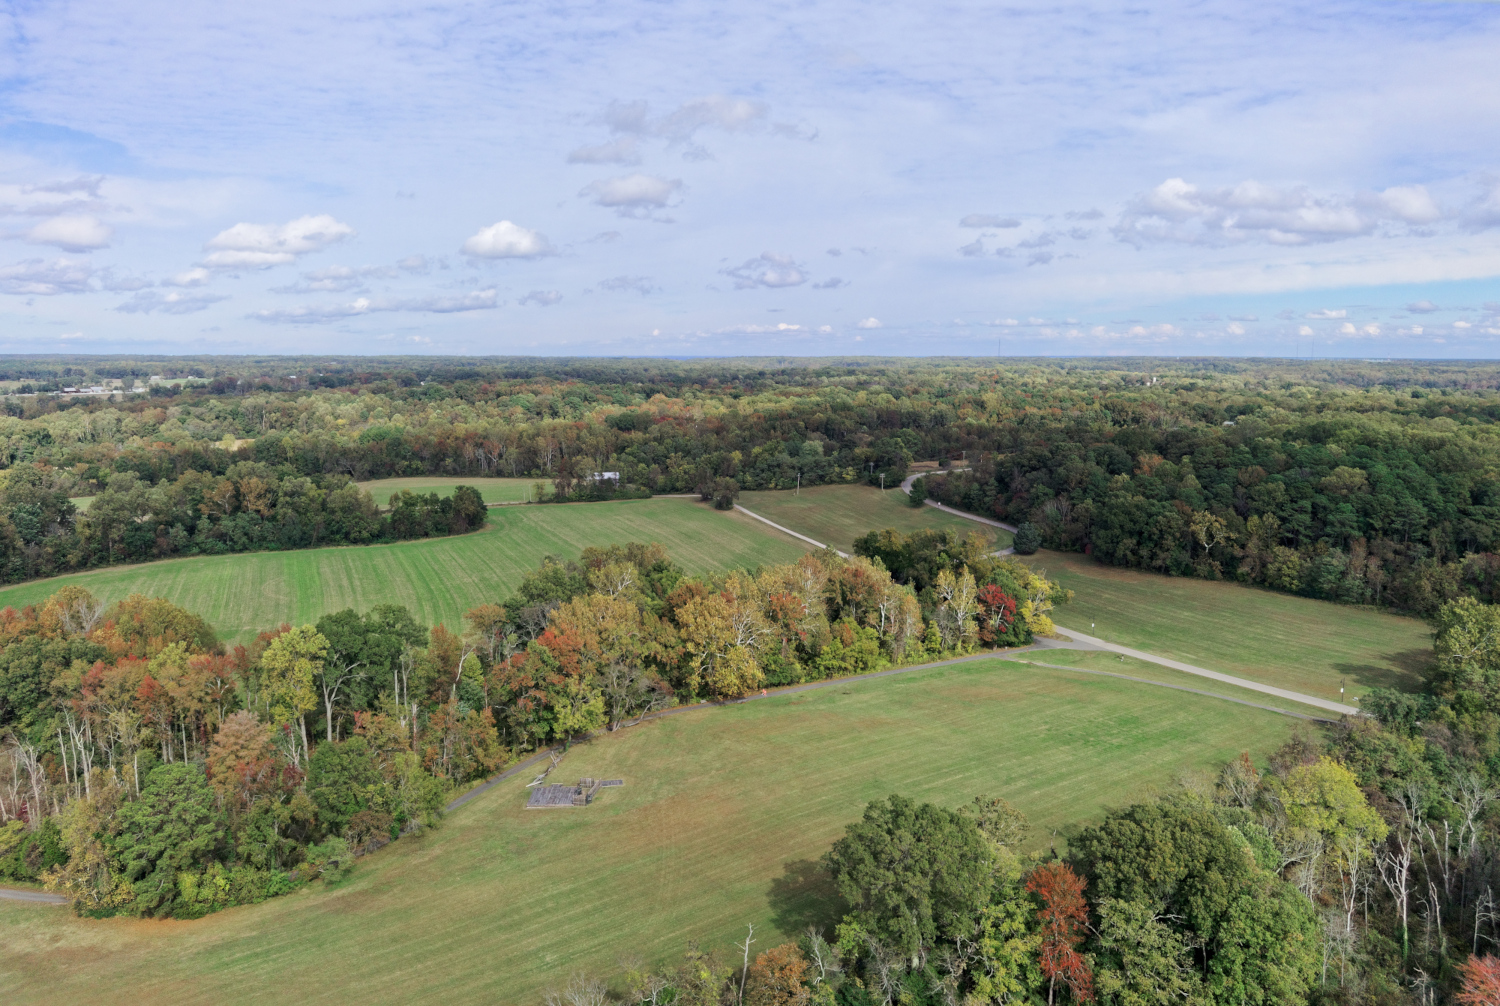
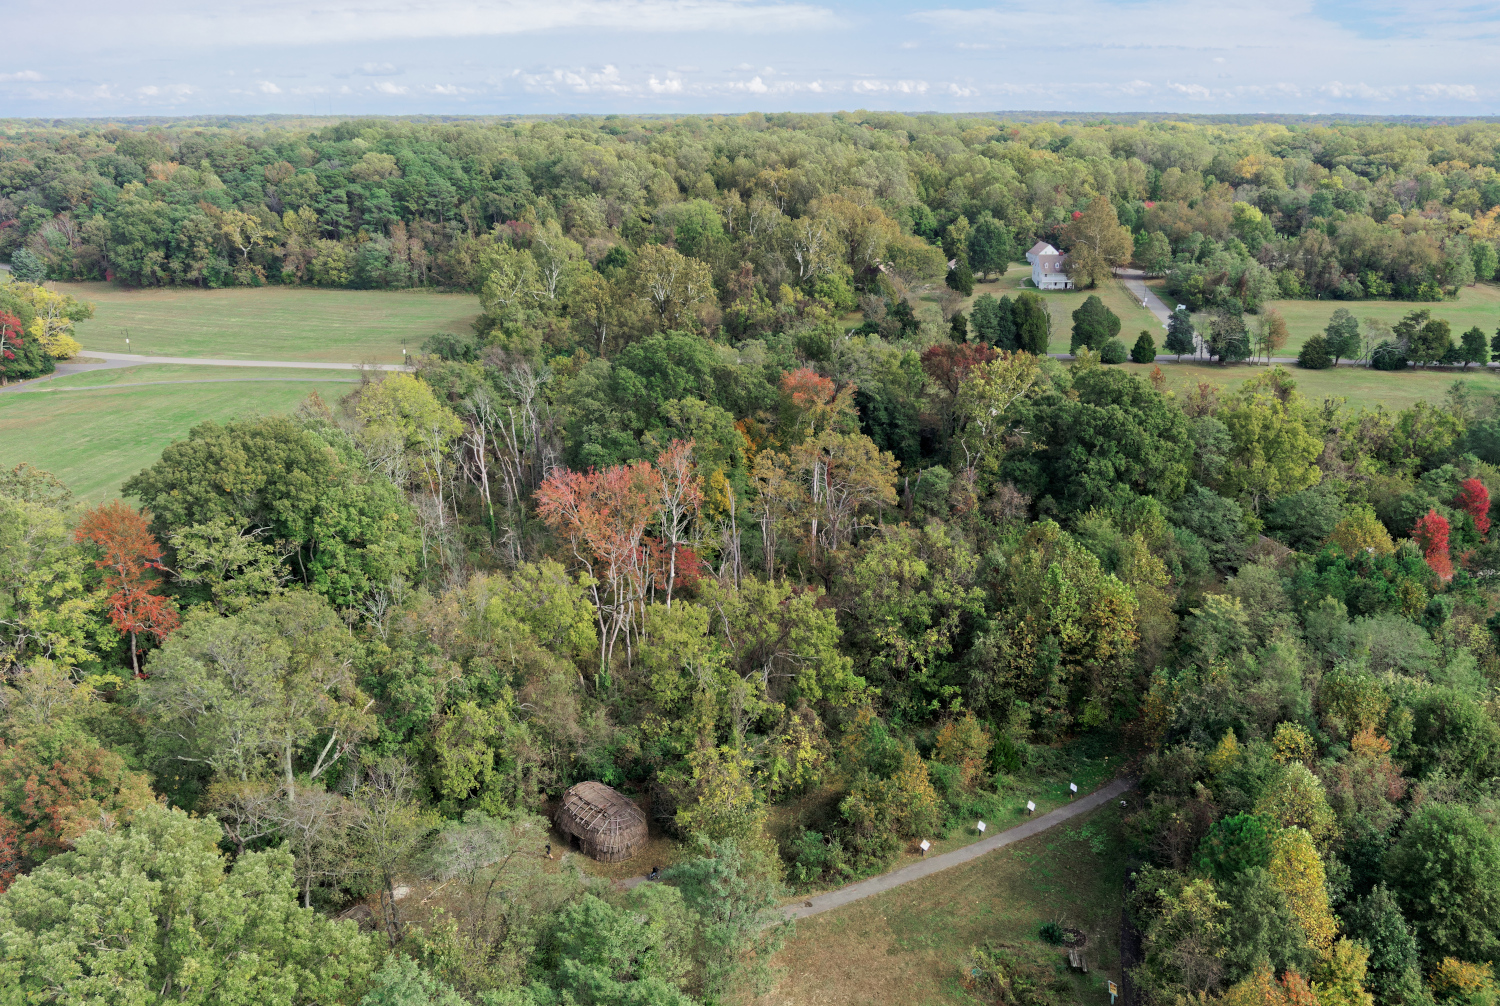
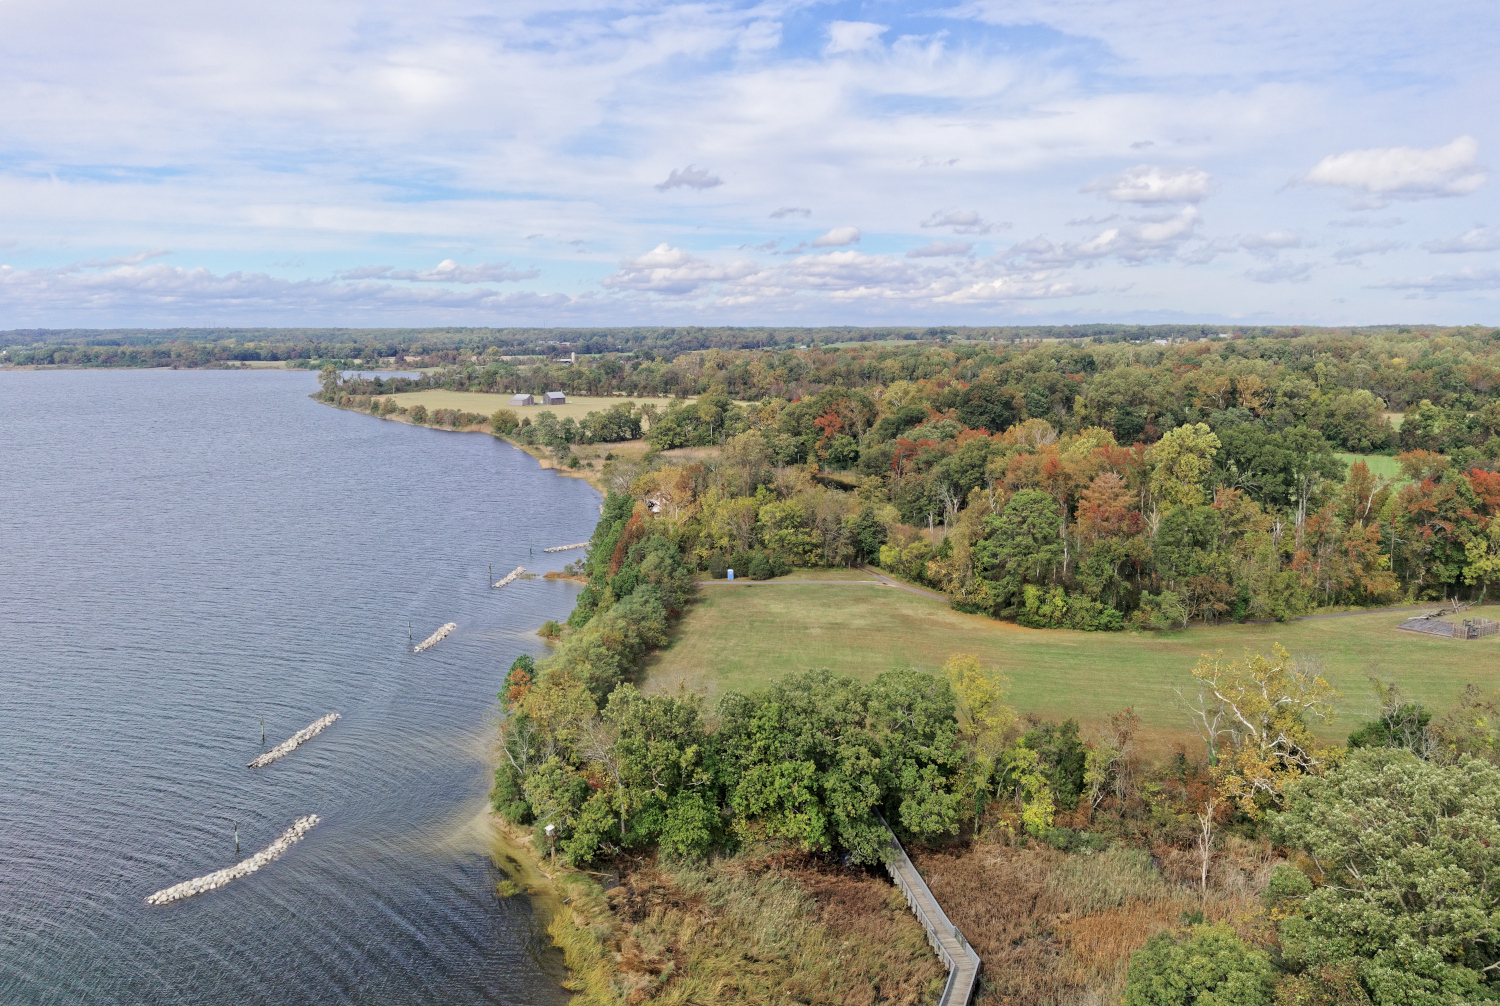
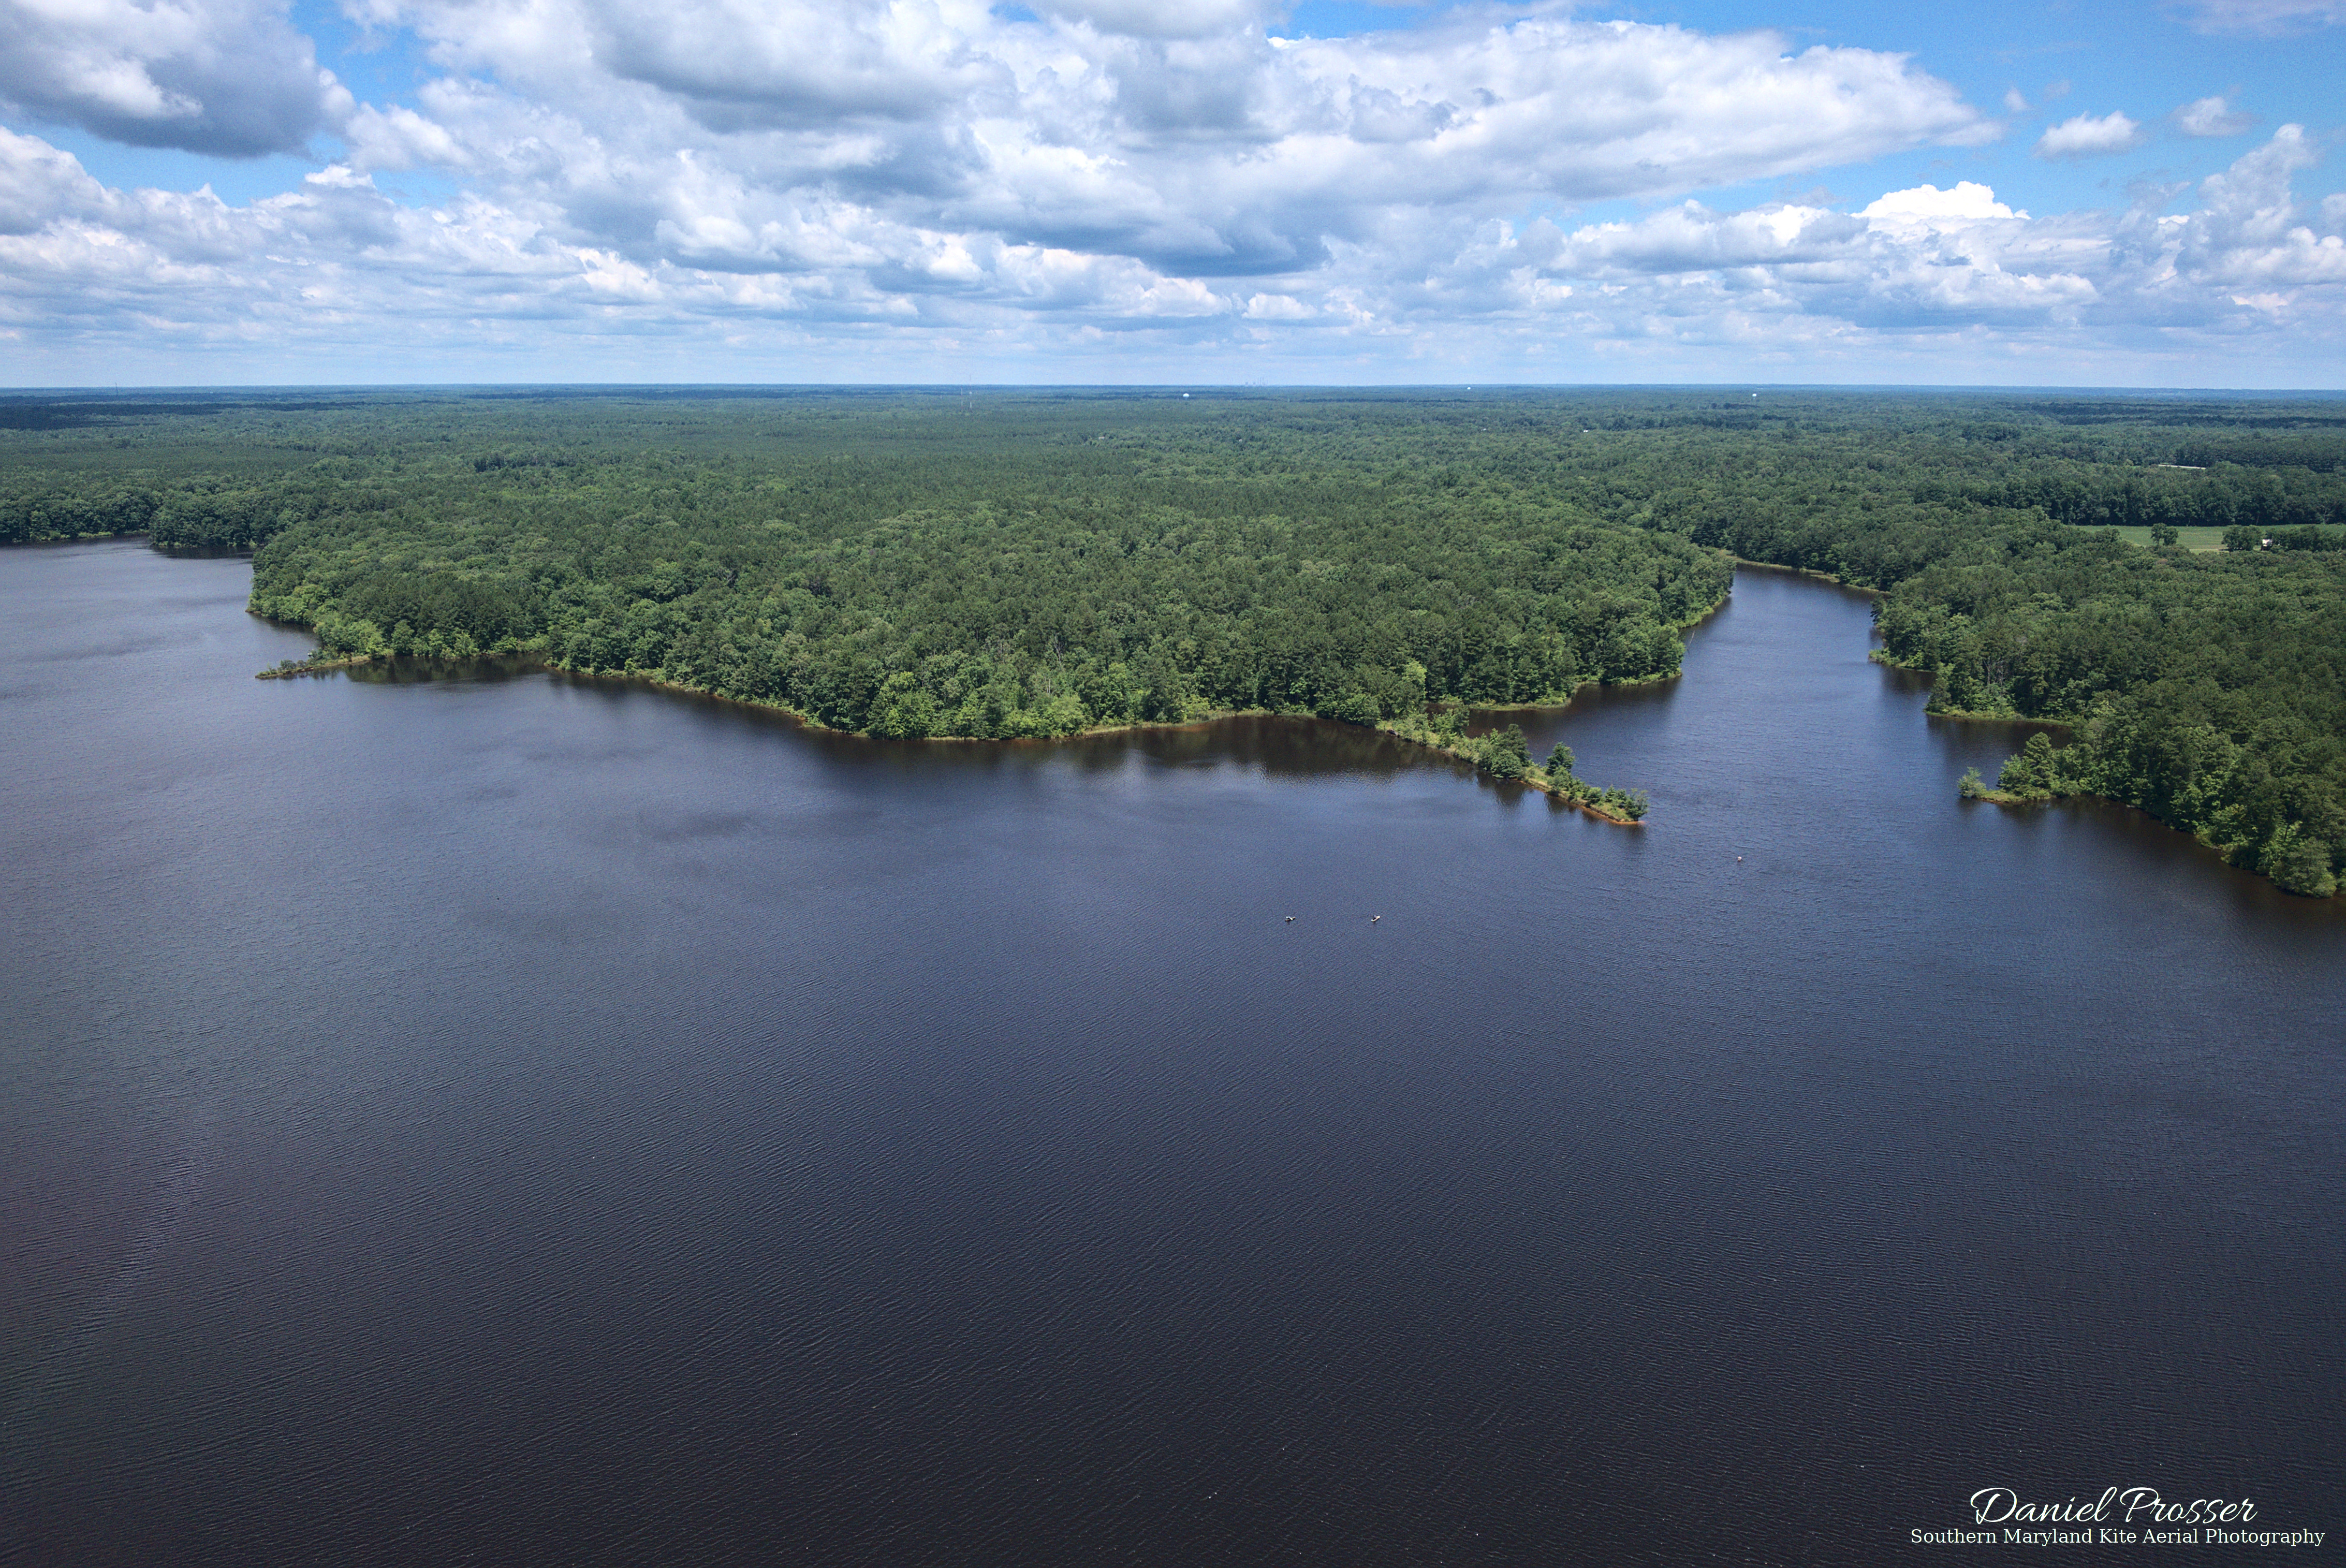
It was spring, and we were finally starting to get some nice weather after a long winter. Late one afternoon, I headed to Point Lookout, MD to take advantage of some wind and hopefully nice lighting for aerial pictures of the lighthouse. The wind was stronger than I expected, but it was well within the range of my Mini Dopero kite. It was from the southeast, so I went all the way to the end of the peninsula, past the lighthouse, thinking I could fly the kite out over the water and take pictures from the northwest side, which should be nicely lit up by the low sun. I was also excited to use my new radio-controlled (R/C) kite aerial photography rig to take the pictures, which I tested in my previous post and vlog.
I hadn’t flown the Mini Dopero since last summer, since the Rokker is now my workhorse kite, but I remembered that the last time out with it I’d had a couple nervous moments where it had lost tension and veered over towards trees before I was able to regain control. Because of that and also because the R/C rig is somewhat heavier (which would exacerbate such problems), I decided to adjust the bridle knot downwards towards the tail of the kite. A somewhat lower tow point increases stability and pulling force, and I wanted to do everything possible to make sure there were no problems while I was busy composing pictures with the video screen.
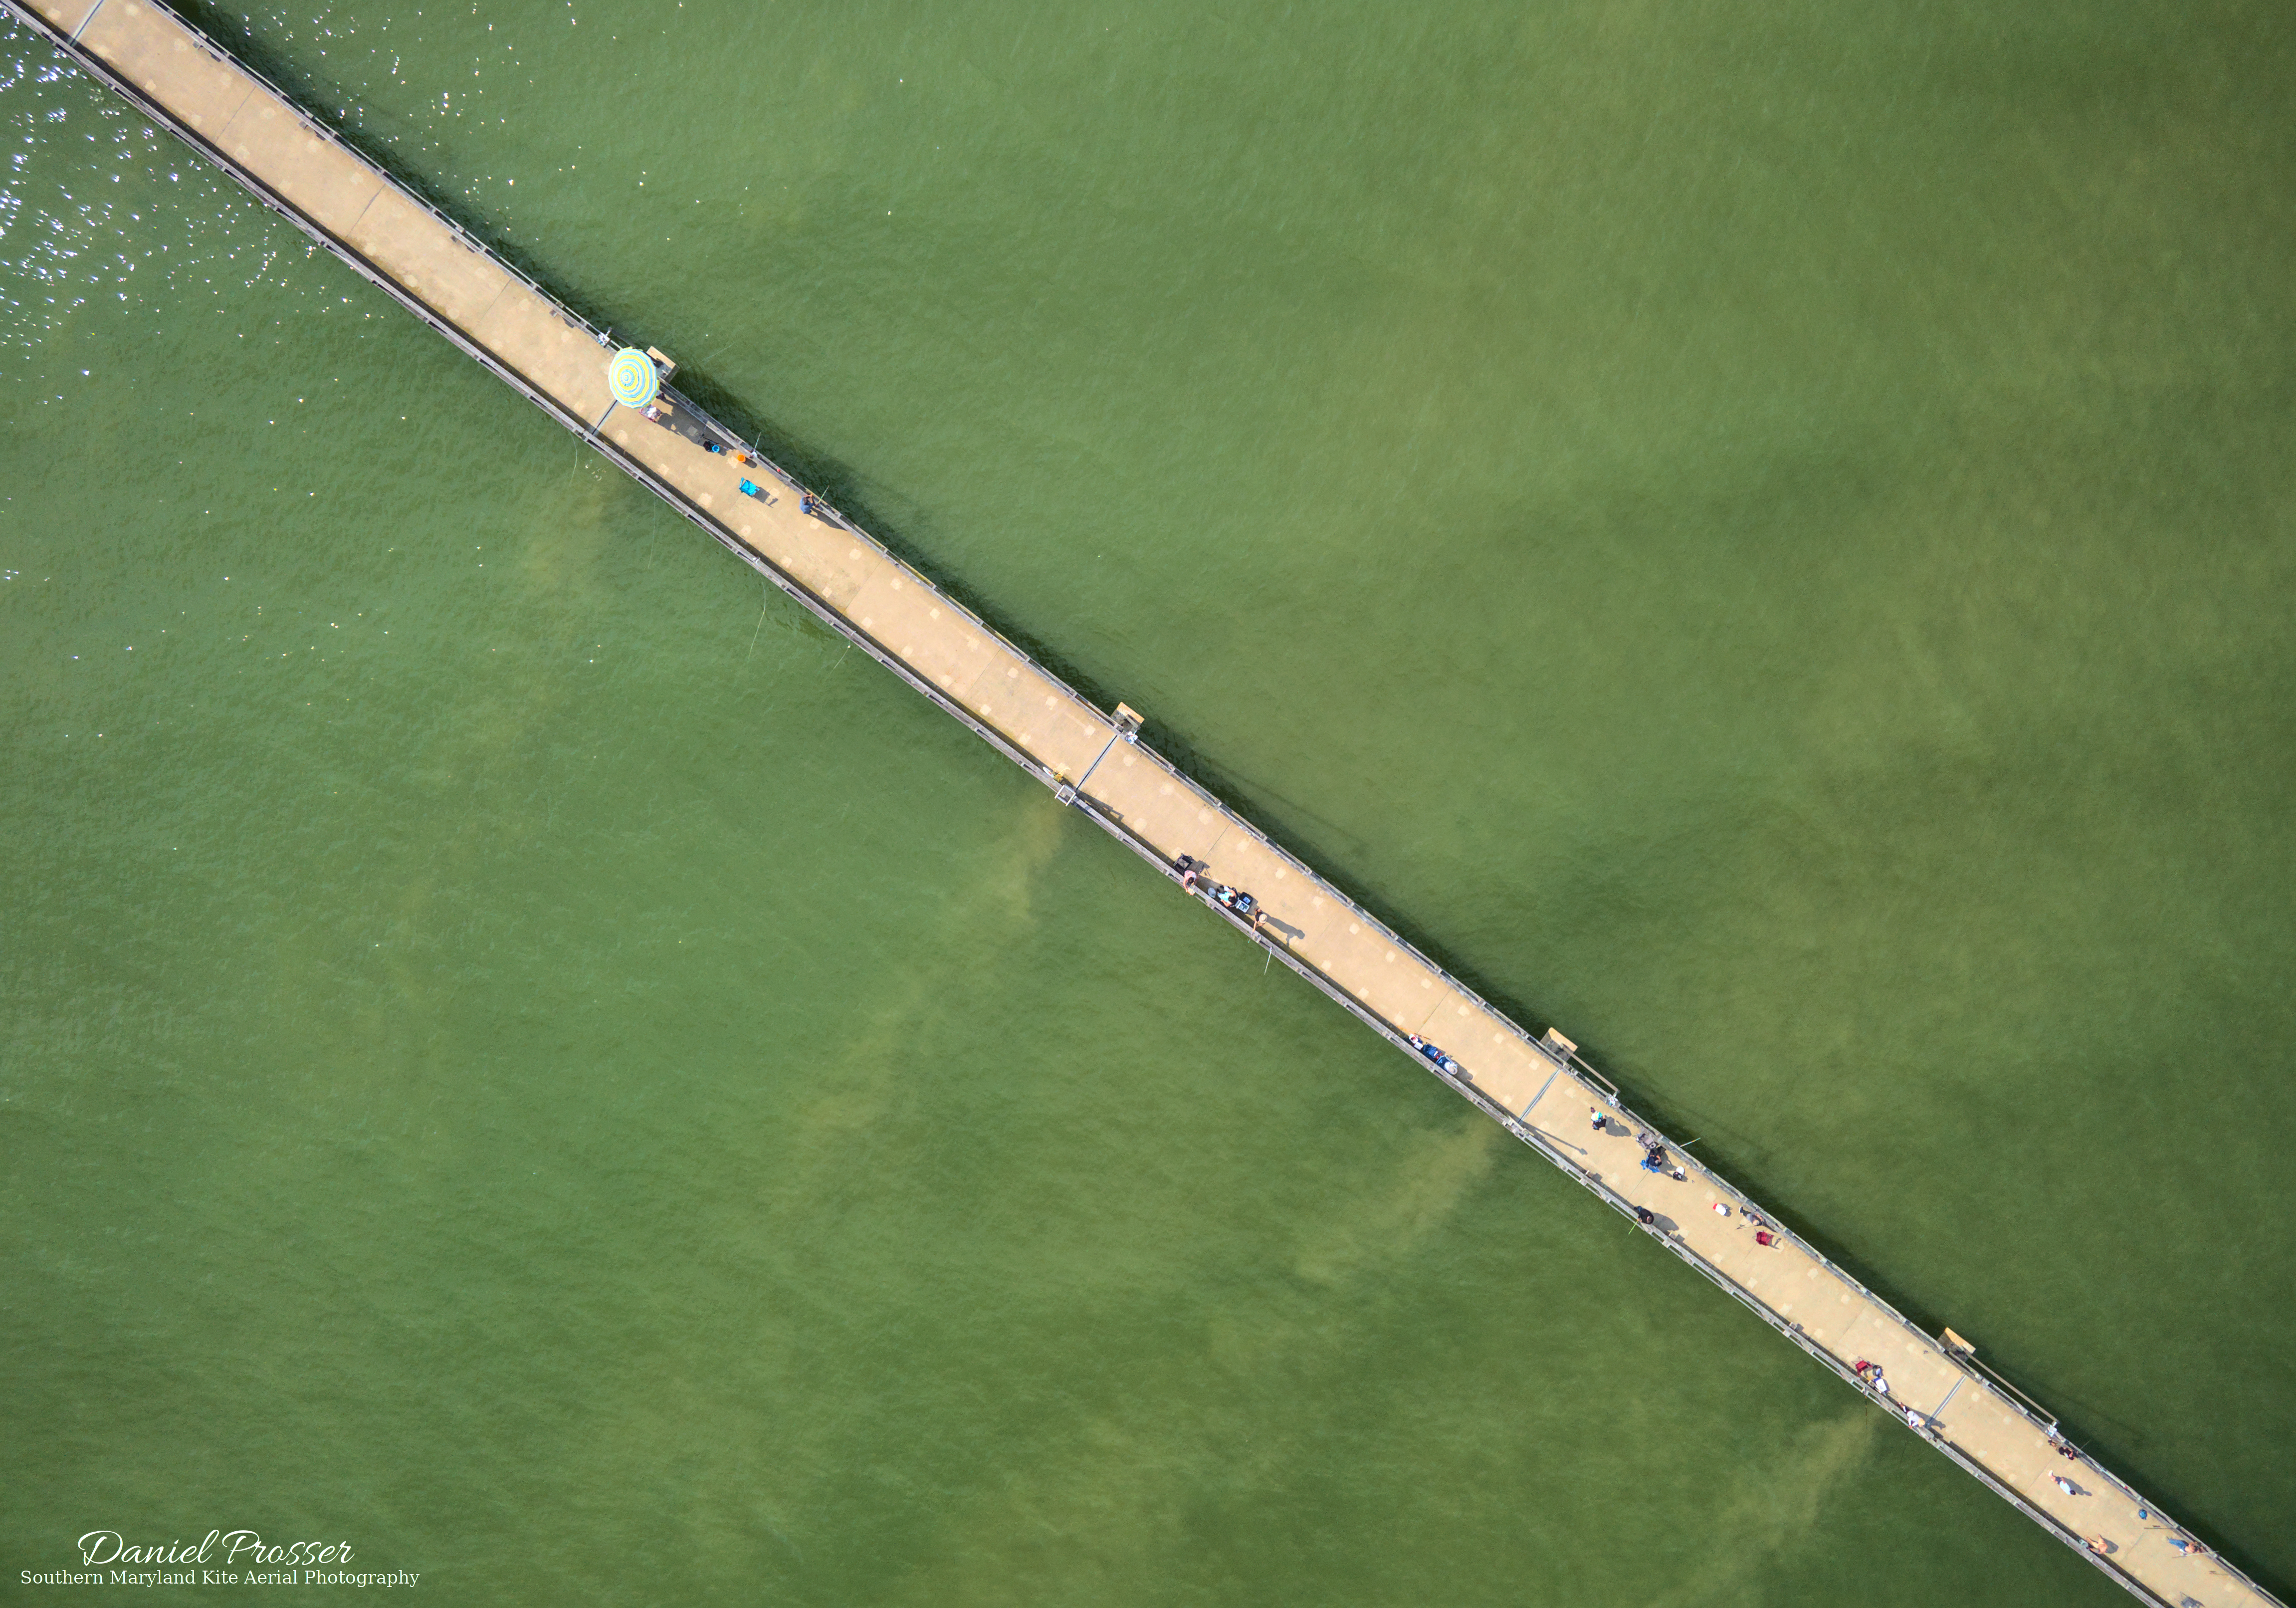
It was no trouble at all getting the kite flying in the robust sea breeze. As is my normal practice with this kite, I attached a drogue for added stability, and then I attached the KAP rig about 100 ft below the kite. The flight was very smooth, with no stability problems at all. Here is the first picture I took of the lighthouse, with the camera a couple hundred feet up.
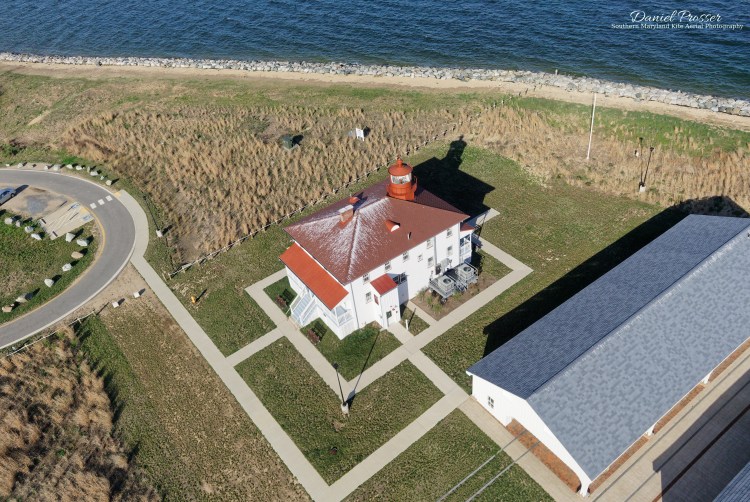
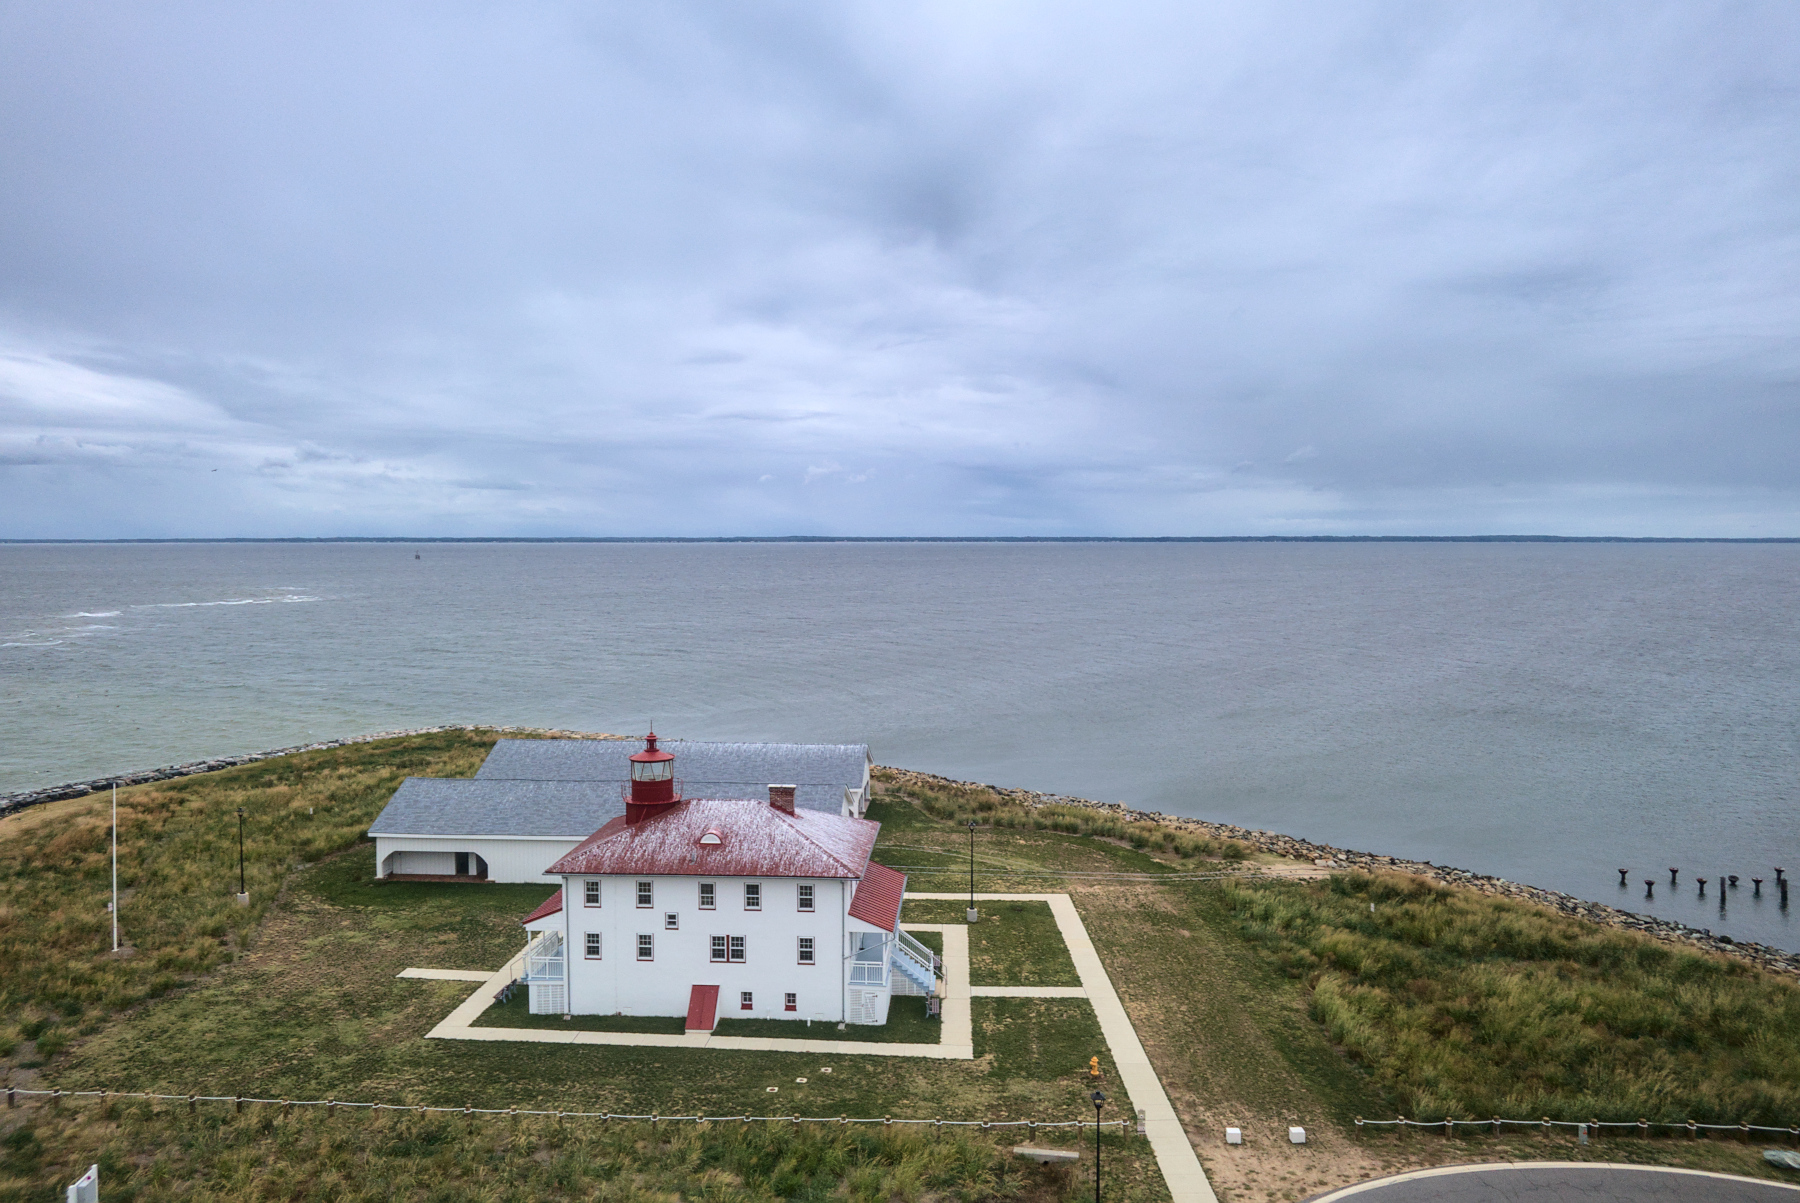
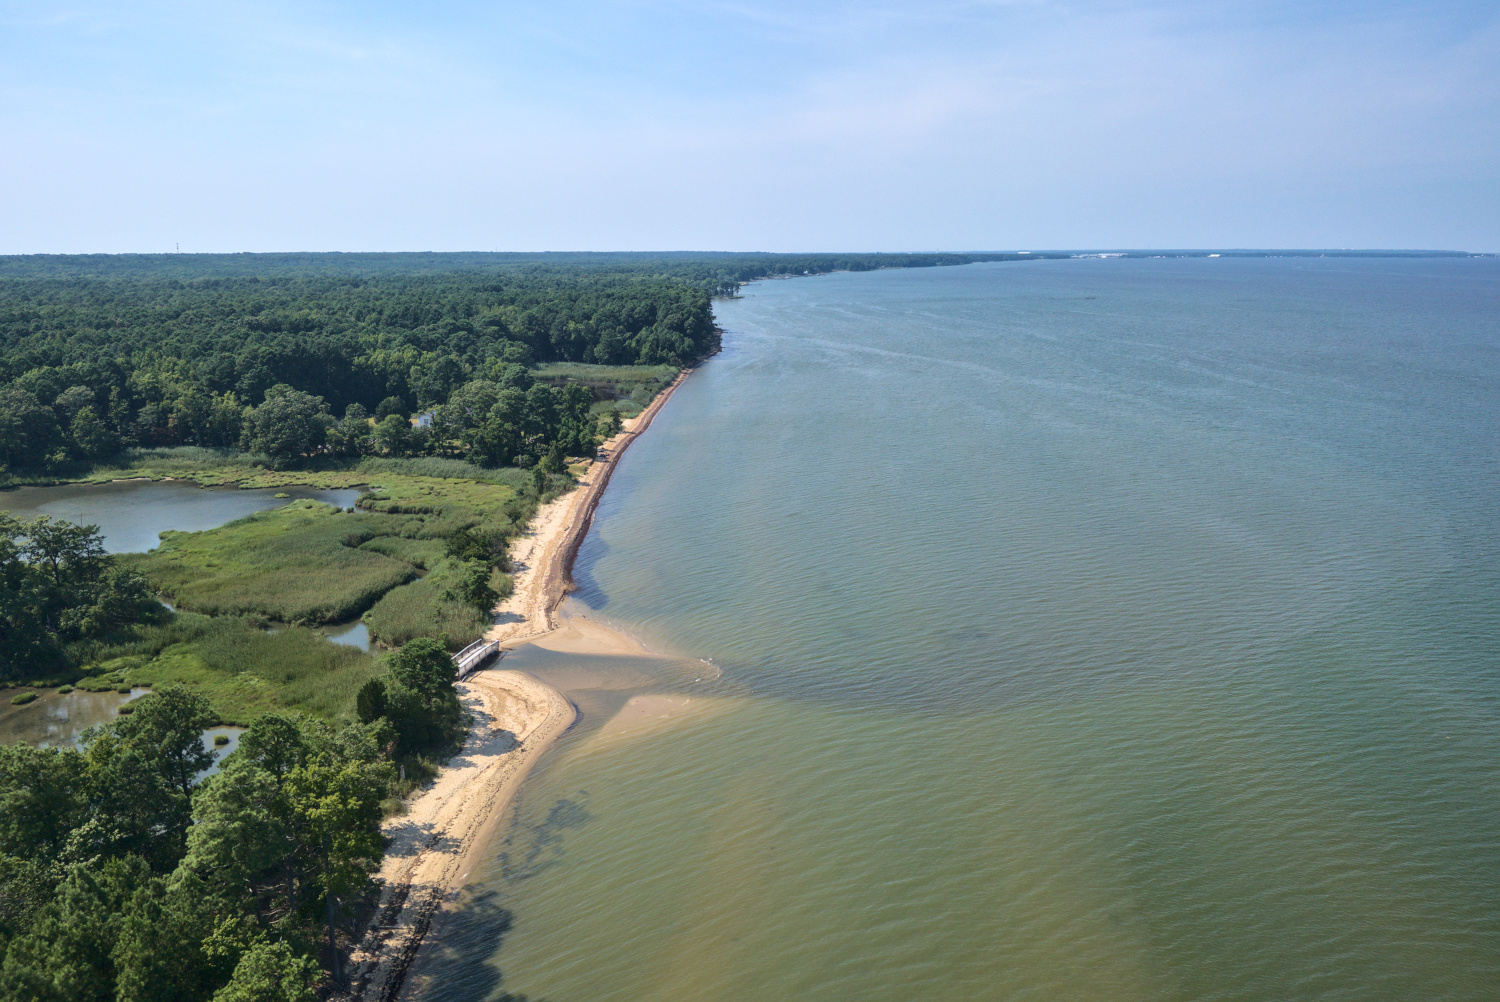
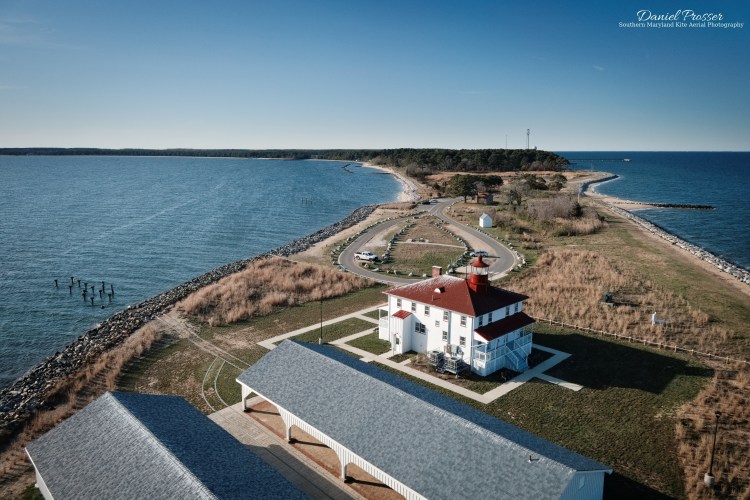
It’s not a bad picture, and composing it with the R/C transmitter and video downlink worked perfectly, but it’s not quite what I had in mind. I wanted to see more of the surrounding land and water in the frame. Part of the problem was that the wind direction was not actually moving the kite out over the water like I had anticipated, so the camera was more directly over the lighthouse than intended. I decided to walk out to the front of the lighthouse right by the water’s edge and let out a lot more line to get more in the frame. Here is the result.

That’s better! As a bonus, the kite line and pilot (me, and is pilot the proper term for someone who flies a kite?) are in the frame but not distracting from the main subject. I really like this picture, but the angle was still higher than I wanted. It’s easy to misjudge the perspective of a kite, especially one that flies at a high line angle like the Mini Dopero.
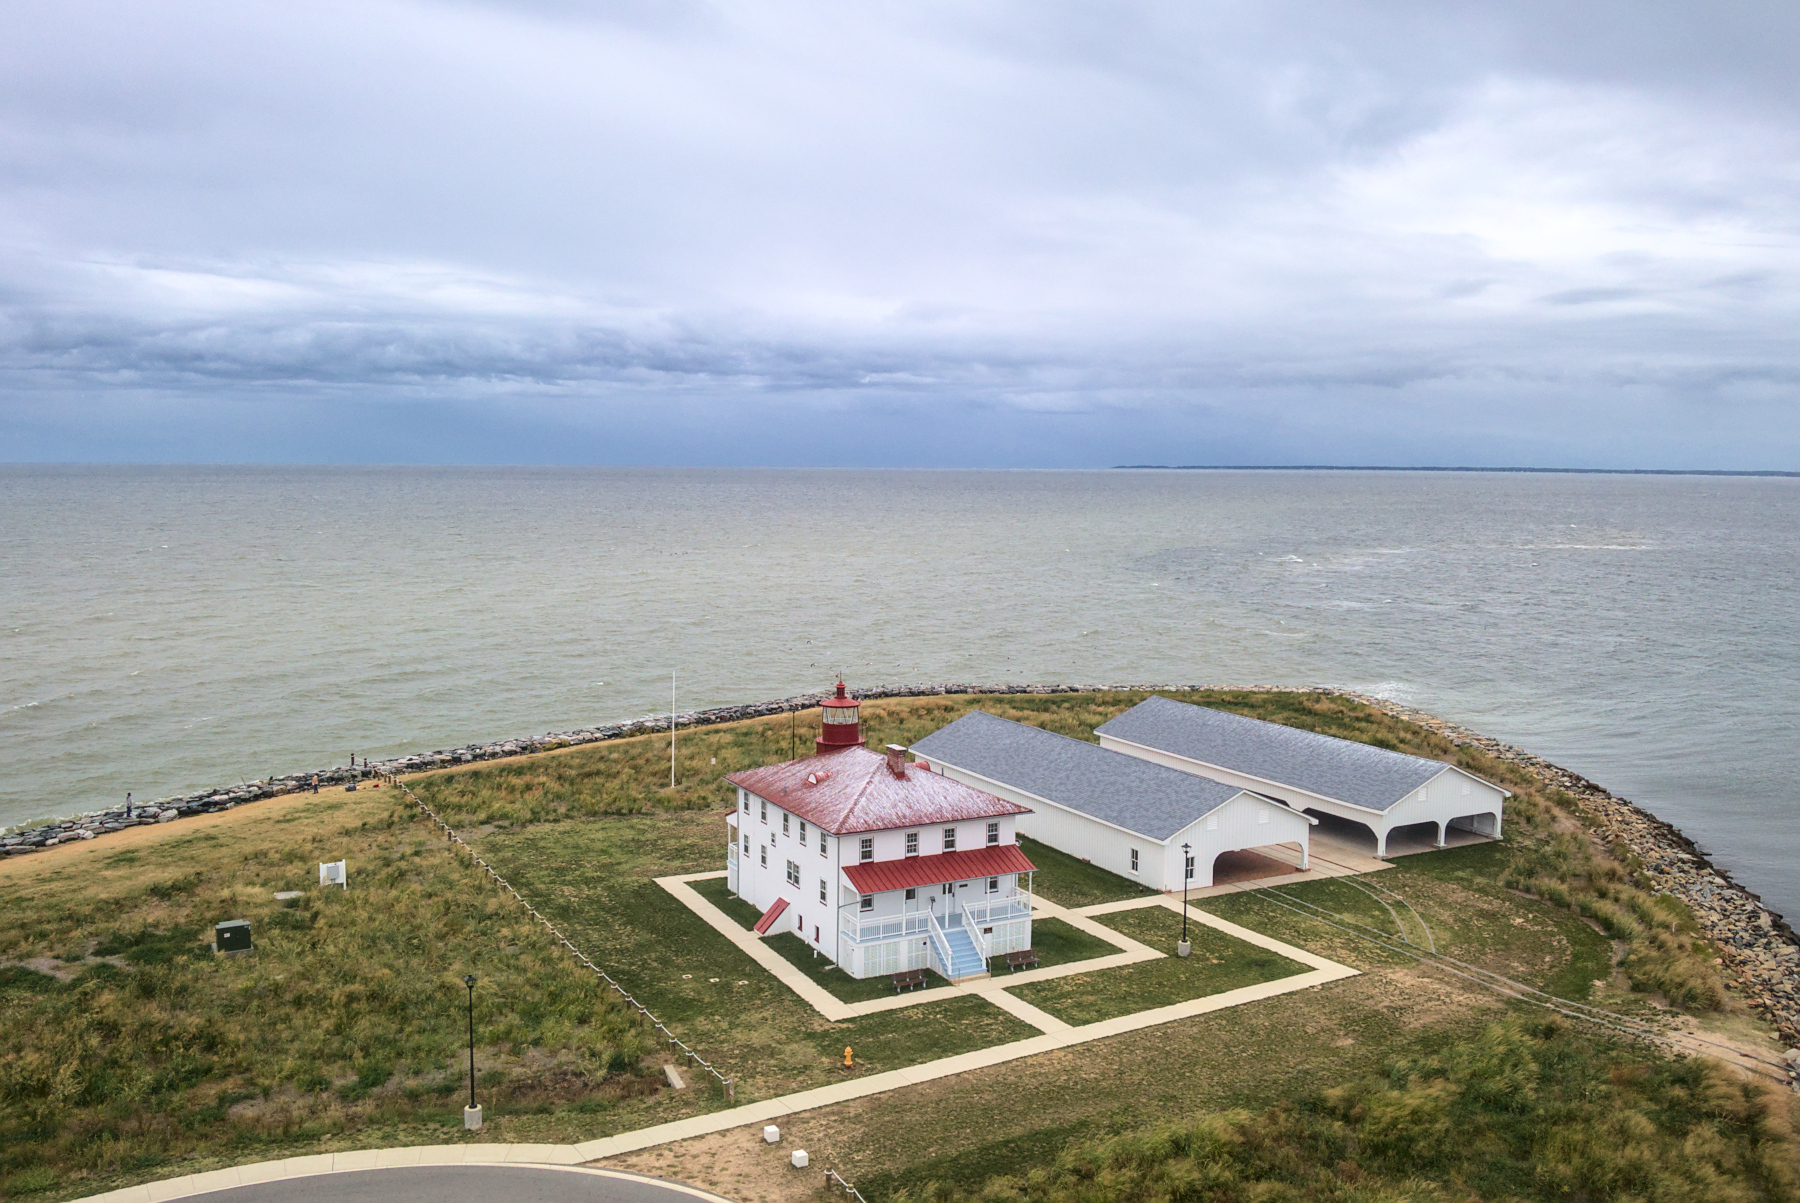
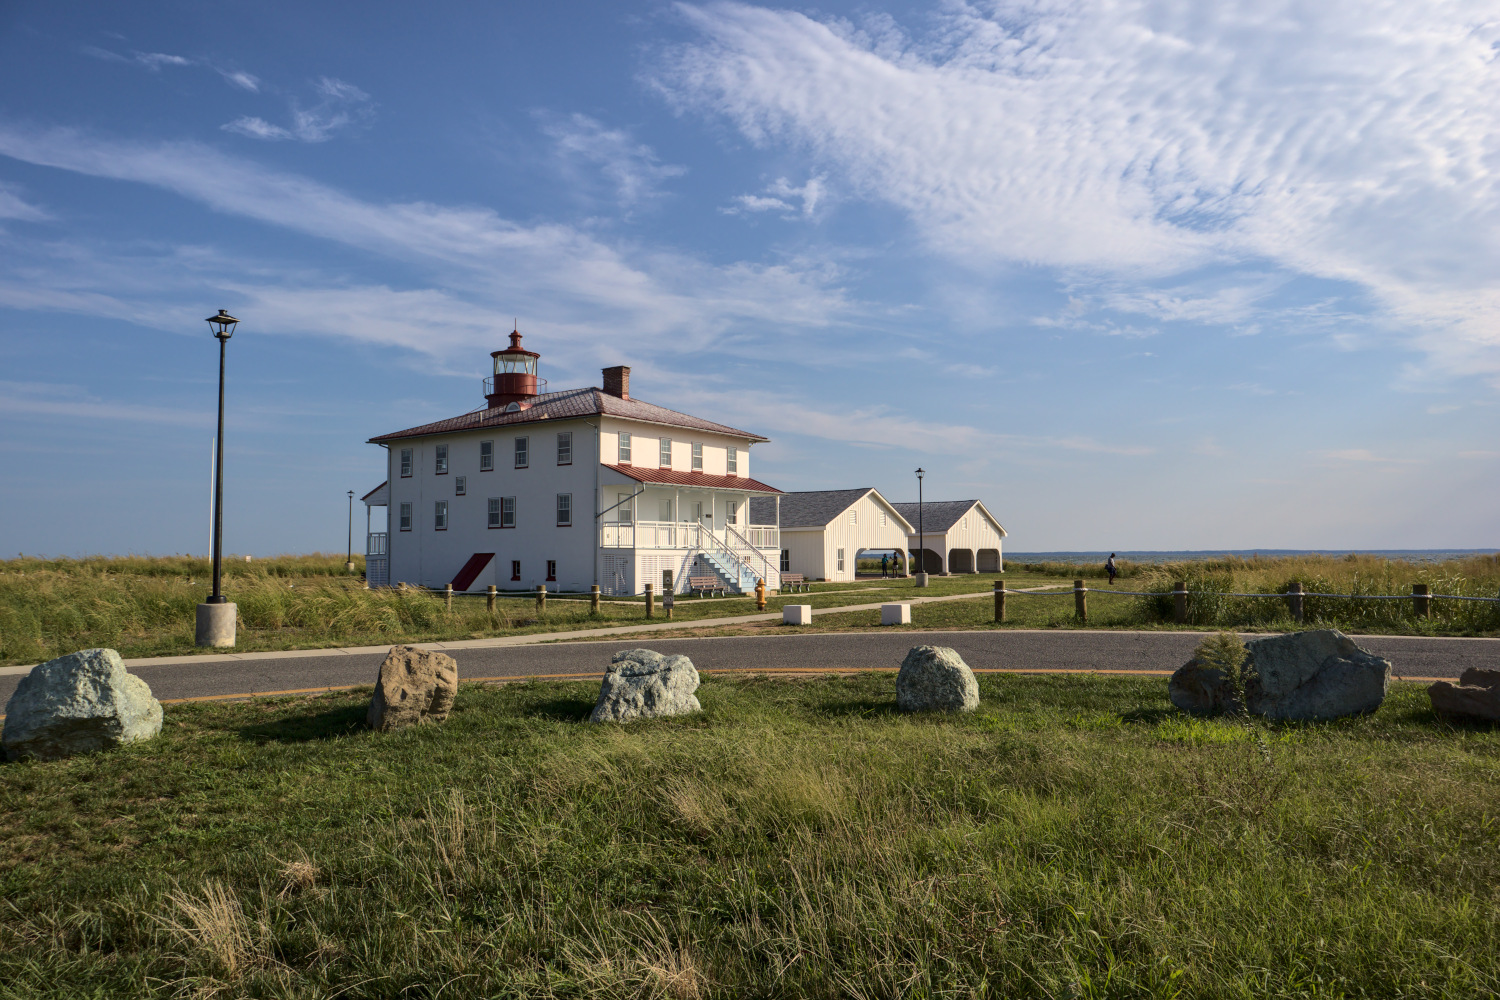
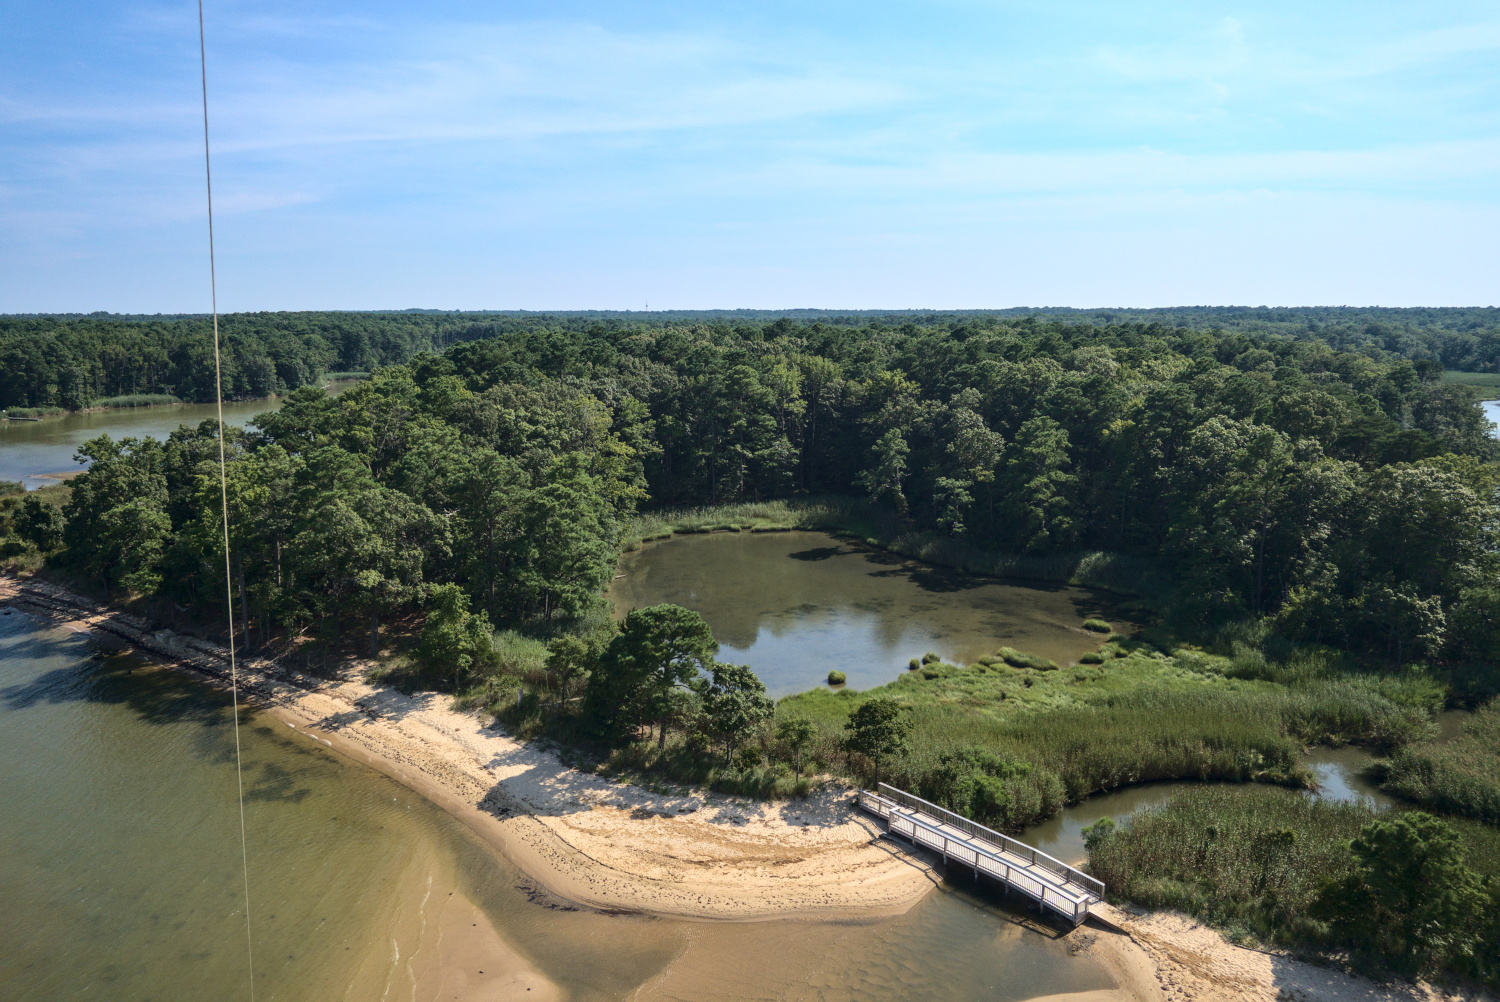
The wind was increasing, and I knew it was going to be hard work hauling in the kite, so I got started on that. When that was finally almost finished, I took a peek at the video feed and realized that there was an unexpectedly beautiful view of the lighthouse available from the south side. The sun was now lower but still out of the frame, and the low angle made the peninsula and water fully visible in the background. This one turned out to be the best shot of the day and actually one of my favorite KAP shots to date. I only wish it had some interesting clouds.
I also made a short video documenting the KAP session set to relaxing music. In it you’ll find footage of the kite and camera from the ground, video from the downlink that I use to compose photos, and the three photos appearing in this post. If you like the video, you can find more on my YouTube channel and my KAP Vlogs page.