The Dopero is a pretty popular kite for KAP. The four-point bridle and twin keels offer good stability even without a tail over most of the wind range. I call this one a mini Dopero because it is smaller than the original version of the kite, though it’s still fairly big by normal standards. While the original Dopero works best in light winds, this smaller size is better suited to somewhat stronger winds. Also unlike the original Dopero, its max height and width are the same, which adds the convenience that all four spars are the same length.
| Height | Width | Area | Weight | Approximate Wind Range |
| 65 in | 65 in | 21 sq ft | 13 oz | 9-24 mph (Bft 3-5) |
Construction Tips
Below are some tips for building the Mini Dopero kite. It’s not a full set of step-by-step instructions, mind you, but it should be enough to get you going.
The Mini Dopero is the first kite I built for KAP. If you want to build one yourself, I’d recommend starting first by building the smaller, cheaper version from this excellent website:
https://www.my-best-kite.com/make-a-dopero-kite.html
My Mini Dopero design is the same shape as that one, just scaled up from 48 inches to 65 inches and adapted for construction with better materials. Actually, it wouldn’t hurt to make and fly a few of the kites on that site first if you haven’t made a kite before. That will teach you the basics of building a kite, tying several different types of useful knots, trimming, and flying.
The Mini Dopero’s sail is made out of 0.75 oz Texlon ripstop nylon. Each spar is made out of two Sky Shark carbon tubes, joined together with carbon ferrules. I used P2X tubes for the horizontal spars and P4X tubes for the vertical spars. If you glue the ferrules to just one tube in each spar, then the spars can come apart to pack the kite down in a very small size (personally, I leave the spars in one piece for this kite since the 65-inch length is still manageable). Dacron tape was used for reinforcement of high-stress points. 200 lb-test braided dacron line was used for the bridle, bowing the horizontal spars, and for the main flying line. Here are some useful links where you can find the materials and accessories needed:
https://www.flymarketkites.com/ (Ripstop nylon, dacron tape, accessories)
https://kitesandfunthings.com/ (Sky Shark carbon tubes, kite line, nocks, accessories)
If you’re new to sewing, you’ll definitely want to practice on some spare material first. You don’t need a super expensive machine — mine is about as basic as they get — but you will want to get some decent quality polyester thread and a rolling or walking presser foot. Ripstop nylon is very slippery, and keeping it from sliding as you sew is the trickiest part working with it. That’s especially true when you are making a seam with two or more pieces of fabric joining together. I use a copious amount of pins to hold everything in place and try to go slowly. If you mess up a seam, it’s possible to take it out with a thread ripper, but it’s a pain, and of course having a bunch of unused holes in the fabric can only weaken it. If you are interested in seeing some excellent kite sewing tutorials, take a look at the site below. In particular, the 2m white Rokkaku and 1.7m yellow Rokkaku pages have some good videos.
https://andrewnewtonkap.blogspot.com/

Each piece of fabric making up the sail will need to have a hem around the outside. I use a 1-inch hem allowance, folded over and creased 3/8-inch from the end, then again on the marked edge, and sewn down with a straight stitch. An iron used for applying heatshrink covering to model airplanes, heated to about 175 degrees Fahrenheit, helps to crease the fabric before sewing it, and I also use pins. The picture on the left shows one of the keels with the hems sewn down and a piece of dacron tape reinforcing the point where the bridle will attach.
For pieces that need to be sewn into a seam, I use a 3/4-inch seam allowance. After sewing it with a straight stitch, I simply fold over the extra material and sew that down as well, holding everything as tight as possible while I go so that there are no bubbles. When sewing down seams, make sure to move anything underneath that is not supposed to be sewn (for example, the keel) out of the way.
For the Mini Dopero, the entire top sail is made of one piece of fabric. The lower sail is made in three pieces, with one keel sewn into each of the two seams. (The seams line up right with the vertical spars.) Also, an extra large hem allowance should be left on the top end of the lower sail to create a pocket for the lower horizontal spar to pass through. The lower sail is joined to the upper sail using some rectangular pieces of fabric, as displayed in the image below.
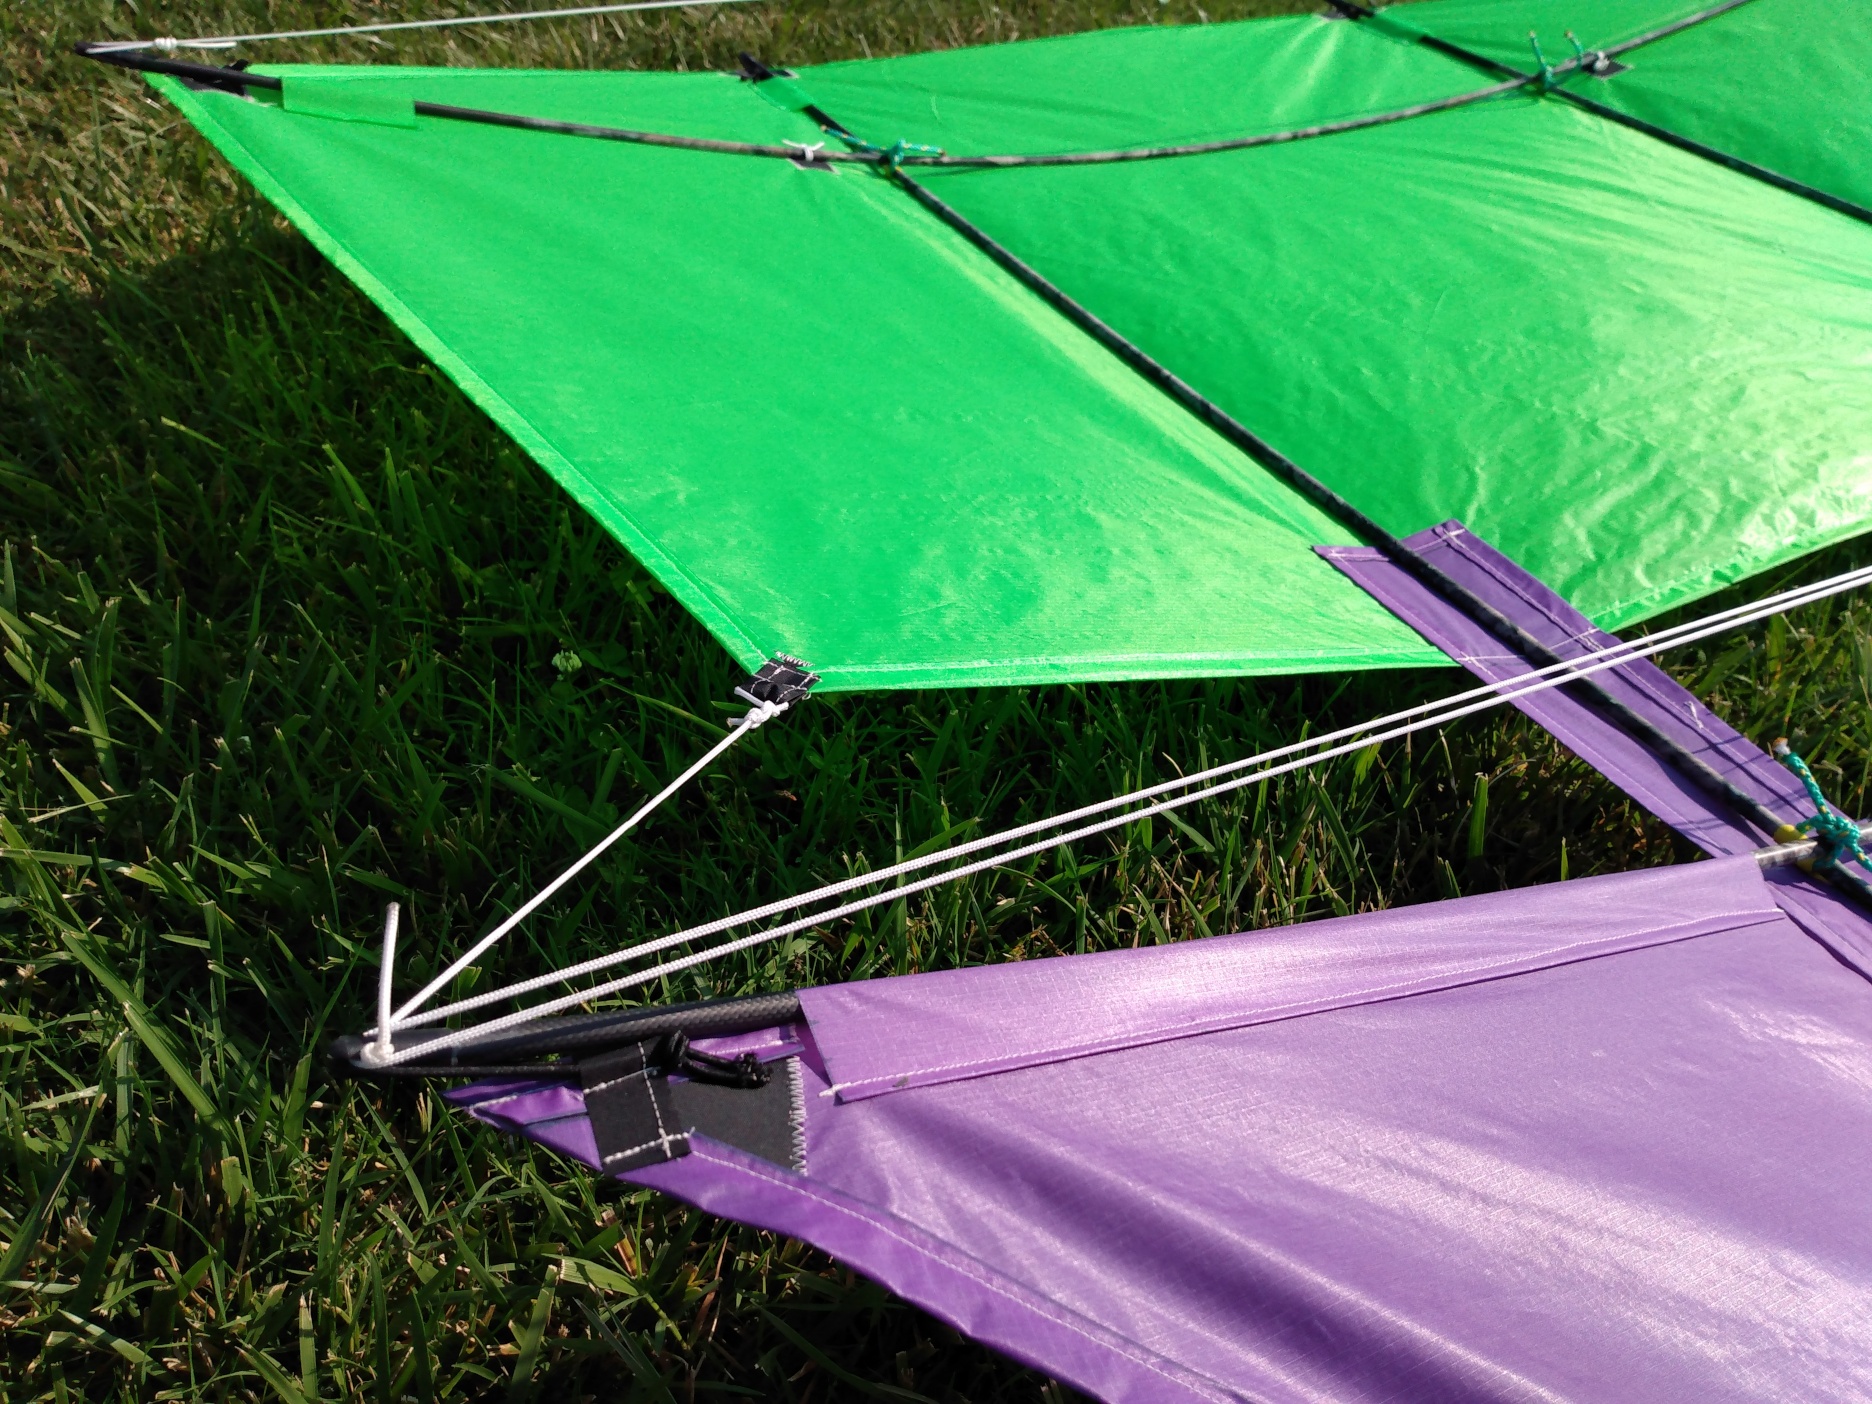
Each spar has an arrow nock glued to the end of it that is used to attach the sail to the spar and, for the horizontal spars, to pass the bow line through. The sail is attached to each spar using a loop of elastic cord. Make sure you get some good quality elastic cord; it needs to hold tension in the sail, so it needs to be strong and not wear out easily. Look for products called shock cord, bungee cord, or paracord. I got some 2.5 mm cord from a place called Paracord Planet, which is just the right size to fit securely in the arrow nocks. It has held up very well in the last 7 months since I built the kite, even being subjected to some strong gusts and prolonged sessions where the kite was pulling very hard.

Each cord is attached to the sail using a small dacron hold-down. Rather than sewing it onto the cord itself, a small channel is created by sewing two lines near the middle of the strip of dacron. This channel should be just big enough to allow the loop to pass through, but small enough so that a nice big double loop knot in the cord will not slip through. This way, the cords are adjustable and removable, which will make them very easy to replace if they do wear out one day. If that description wasn’t totally clear just from the text, see the picture above for a visual explanation.

To bow the horizontal spars, there is a handy tool called a bow line toggle. It has two holes and, usually, a slightly curved shape. The line is tied to one hole, looped around the nock on one end of the spar, then passed back through both holes of the toggle. A fairly large loop knot is tied in the other end of the line, which is inserted into the nock on the other end of the spar. When the toggle is slid along the line towards the end with the loop knot, the line gets tighter and causes the spar to bow. Friction holds it securely in place until you slide it back again to release it. I usually bow the lower spar a little bit more than the upper one, and I bow them both a bit more when flying in strong, gusty winds.
Trimming and Flying
If you leave the spars in one piece, the horizontal spars can be left in, and setup is pretty quick. Just slide the two vertical spars into their pockets and underneath the horizontal spars, attach the elastic cord to the nocks, tie the vertical and horizontal spars together at the four intersections, and bow the horizontal spars. Attach the flying line and you’re ready to go. To pack it up again, just loosen the bow lines, take the vertical spars out, put them right alongside the upper horizontal spar, and roll up the sail with the bridle wrapping around it. You will end up with a 65-inch-long colorful package to carry along.
Trimming is a little more tricky, at least the first time. There are three adjustable prusik knots. The ones on the top and bottom can slide left and right, and the one in the middle can slide forward and back. The middle knot should be closer to the top of the kite for stable flight. In light winds, move this tow point farther back to increase the angle of attack and generate more lift. But don’t go too far, or it will produce too much drag and not fly well or at all. Conversely, in stronger winds, the tow point should be moved farther forward to lower the angle of attack and alleviate some of the tension in the line. You’ll know you went too far if the kite becomes unstable, pitching forward and losing lift during gusts.
Start out by setting the top and bottom knots so that they are right in the middle, not to the left or right. If you notice that the kite consistently flies off or leans to the left, bring it down and move the top knot a little bit to the right, and vice-versa if it flies to the right. Adjust it in small increments of a centimeter or two at a time; it doesn’t take a lot to make a difference (the same thing goes for forward and aft bridle adjustments). Once it’s adjusted correctly, the kite may still fly off to the left or right during gusts, but it shouldn’t favor one side over the other, and you shouldn’t really have to touch the top and bottom knots again other to inspect them from time to time.
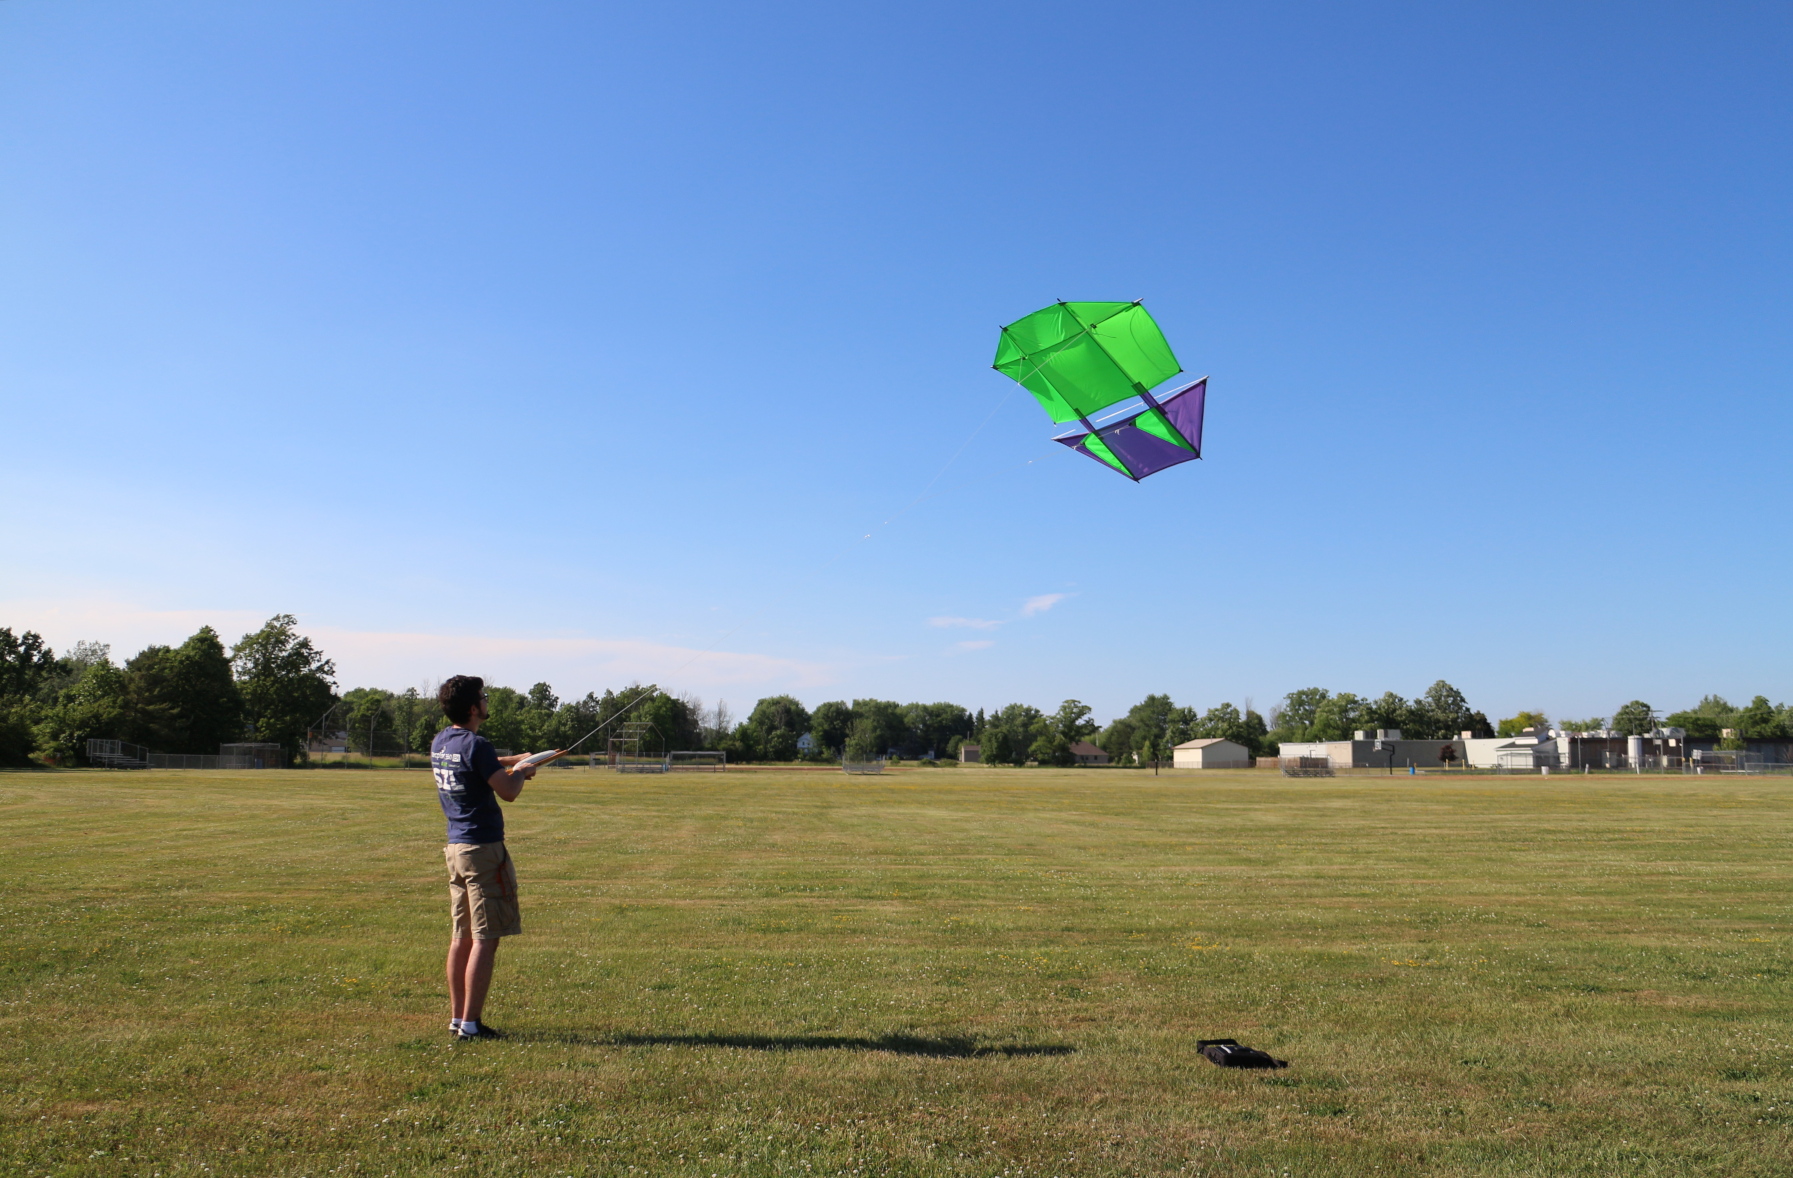
There are a few different ways to launch the kite. If the wind is strong and consistent enough, you can simply release the kite out of your hand and let out more line as it pulls. Just remember that however much line you let out, you’ll eventually have to bring in again, which can be a difficult task if the wind is strong!
If you are flying inland, particular in hilly areas or places surrounded by trees, the wind may be weak and turbulent near the ground, especially if it is on the lighter side. In that case, you’ll need to expend some more effort to get it up into smoother air.
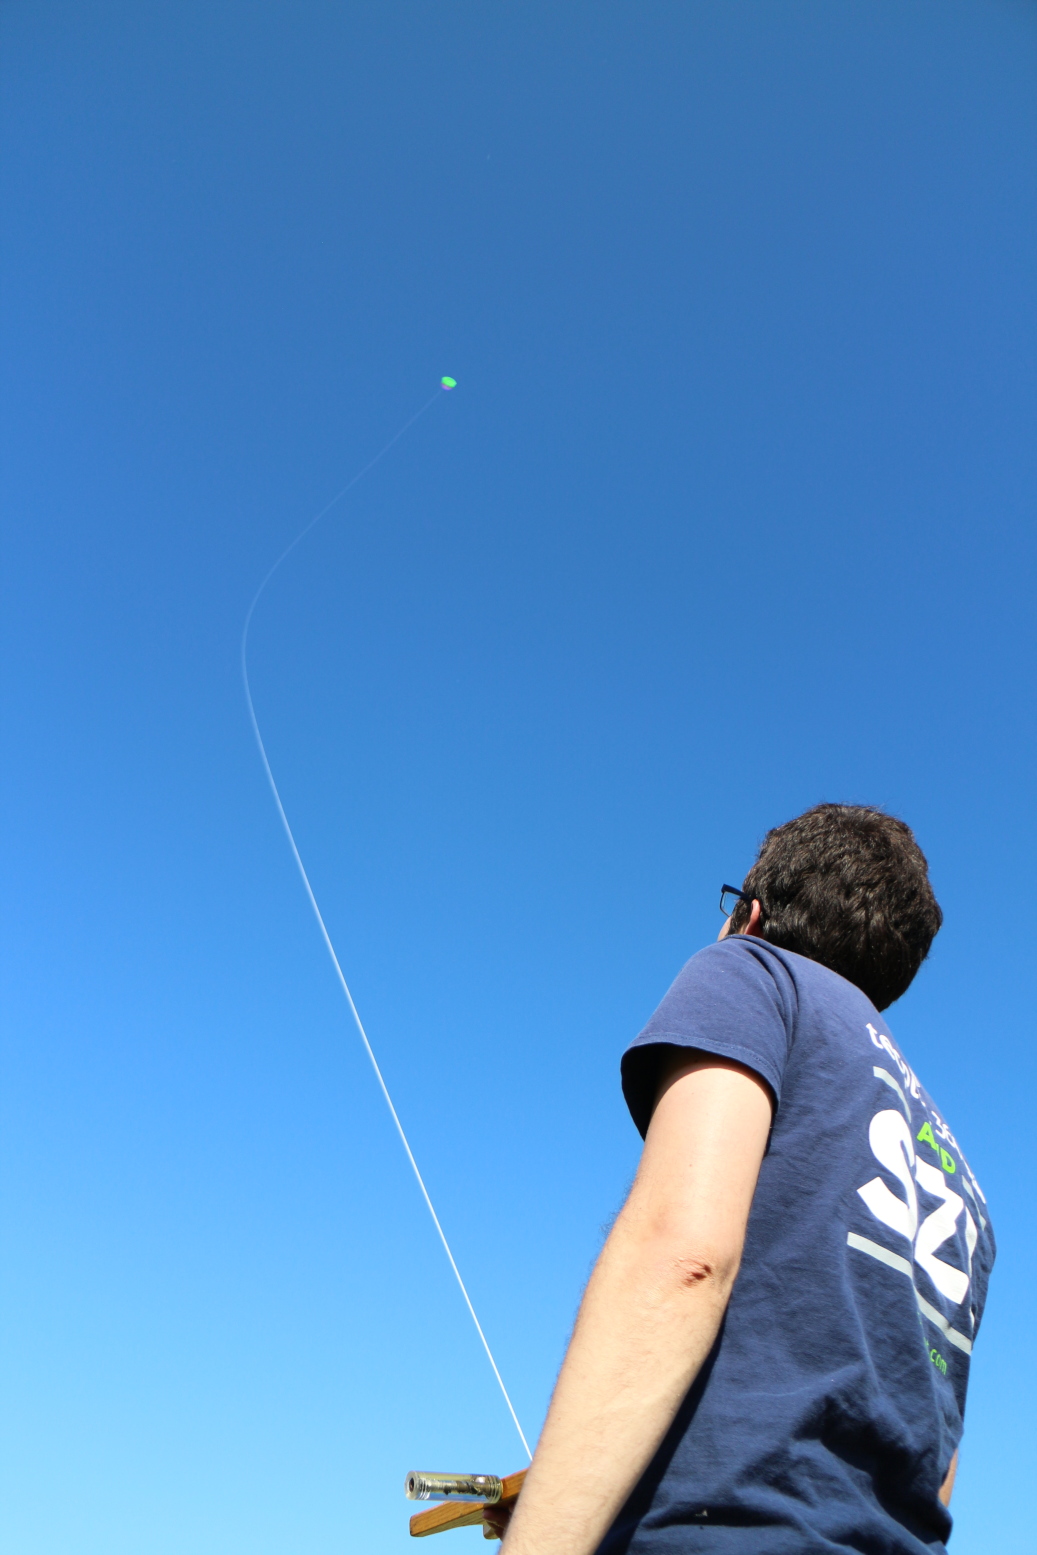
One approach is known as a long-line launch, where you let out a lot of string (50 or even 100 ft), give it a good tug to get it up in the air, and then wind some of it back in using quick spurts, and/or tug to pull the kite up to a higher line angle where it can contact some stronger air. The Mini Dopero is good for this type of launch for a couple reasons. One is that the twin vertical spars give it a stable platform to stand up on the ground, ready to take off when you give it a tug. You can even let it tip back, and the spars will dig into the ground a bit when you pull on the line, which will make it stand up and then lift off. The other reason is because the kite is relatively rigid, so tugs on the line translate directly into the kite going up rather than just flexing.
A variation on the long-line launch is the running launch. As the name implies, you will run into the wind, towing the kite behind you while letting out line at the same time until it reaches an altitude where the wind can hold it up on its own. Of course, for this type of launch you need plenty of open space to run. Generally, a running launch also starts with a decent length of line let out, though maybe not as much as a true long-line launch. Of course, you can combine elements of all three methods throughout the course of the flight as wind conditions change.
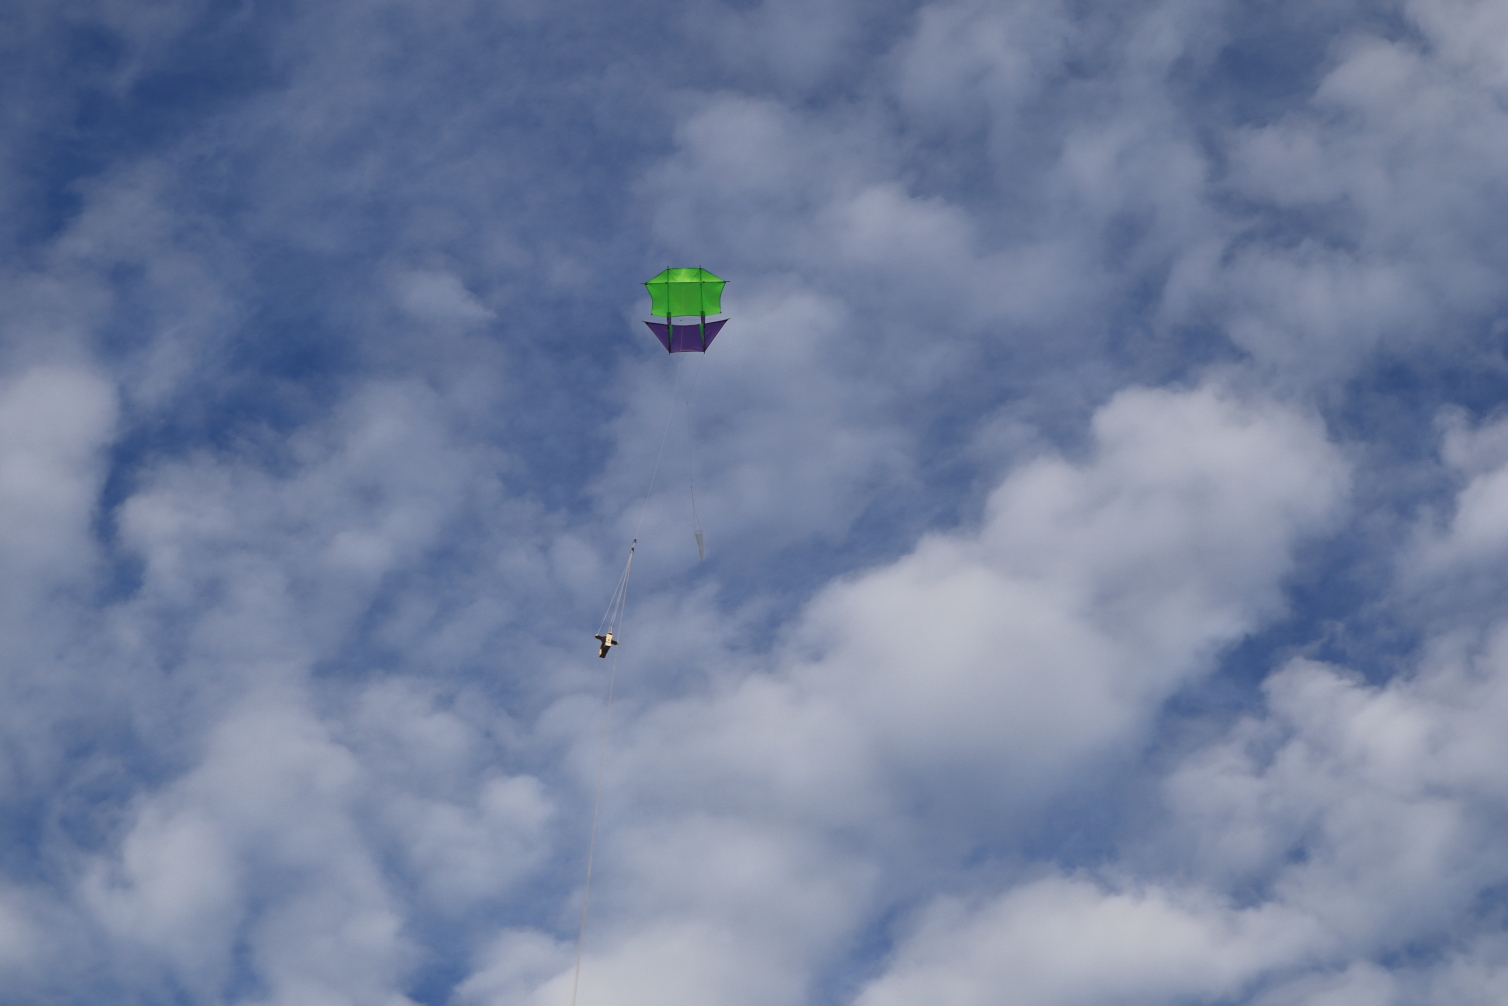
Other than launching, there are some other tricky situations you may encounter. In stronger, gusty winds, the kite may move around a lot and even become unstable or loop. In such conditions, a nice large drogue chute makes a big difference in stabilizing it. I use one that is 24 inches long, with the front opening having a diameter of 9 inches and the aft opening 3.5 inches. The one in the picture above was cut out of a thin plastic drop cloth, but since that was taken I made a nicer-looking one out of some spare ripstop nylon. It trails about 15 feet behind the kite, attached with string and a swivel.
A general rule of thumb is that, if a strong enough gust comes along that it threatens to pull the kite into a dive, you need to release some of the tension by letting out some more line or briefly running towards the kite, which should help it to recover. Of course, if the wind is really too strong, take any opportunity you can to wind the line back in again and get the kite down!
Another tricky situation is when thermals cause the line angle to keep increasing until the kite is directly overhead or worse, over-flying you. This can be nerve-wracking, because sometimes the line will go slack and you will feel like you are losing control, but don’t panic! In mild over-flying situations, if you just let the kite do its thing, the wind will eventually blow it back downwind, the slack will be taken up, and it will be flying normally again. It’s important not to pull tension into the line while it’s overflying, because that may cause it to go into a dive.
In more extreme over-flying situations, the kite may end up in a dive on its own after the line goes slack. If there is a lot of slack, wind in some of it so that you can have some control, but still don’t pull tension into the line, as that will only exacerbate the dive. With a little bit of slack and a properly adjusted bridle, it should come out of the dive on its own, at which point it will be downwind and you can wind in some more line to get tension and proper flight once again.
Above is a video of the Mini Dopero in flight. This flight occurred soon after I had completed the build and before I had a KAP rig, but it probably would have been difficult to KAP in this wind with the Mini Dopero, as it was near the bottom of its wind range. The big Barn Door kite would be right in its KAP wheelhouse, however. Anyway, the video gives an idea of how the kite behaves in light winds. With a large drogue and careful adjustment of the bridle, with the tow point as far up as possible while still giving sufficient stability, the kite can handle a maximum gust in the Beaufort 5 range.
