One week after my first KAP attempt, I returned to the same park with 200 more feet of line (for 700 feet total) and a new camera — a Canon PowerShot Elph 160. It was equipped with a simple intervalometer script provided by CHDK. The goal this time was to get the camera as high as possible to see what the landscape looked like from hundreds of feet in the air.
Despite my stability struggles the last time out, I decided to still attach the rig to the line while the kite was on the ground and do a long-line running launch to get it in the air. I did attach the rig a little bit farther down from the kite this time to hopefully improve the stability a bit. Another change was to point the camera level with the horizon, since the goal was to see far off in the distance.
The launch went a lot like the first time. There was even less wind though, so I had to run the whole length of the soccer field while letting out line until the kite was away on its own. About halfway through the run it started to descend again, but it was saved at the last second by a gust of wind that lifted it into stronger air. The sequence of images at the right illustrates the harrowing experience!

The flight itself went pretty well. I managed to get all of the line out, which promised to return some very high-altitude shots! Being a warm summer day, thermals abounded, and several times the kite got lifted up in them. Bringing the kite down, I struggled with the line angle becoming very high. That’s not uncommon when winding in a kite, since the line tension increases as it is wound. But combined with the thermals and the fact that the kite was less stable with the rig so close to it, it became a bit stressful, since the kite seemed to want to be directly overhead. I started getting worried that it would dive into the trees on one side of the field or the parking lot on the other. I decided to put down the reel and try to just walk the line down by hand as quickly as I could to reduce the chances of the kite crashing somewhere other than the soccer field where I was flying.
This strategy was somewhat successful. While the kite didn’t crash into a tree or the parking lot, it did crash in the field. Once it was below treetop level, the wind became light and variable once again, and the kite started to dive when it was still 50 – 100 ft above my head. It ended up going in nose first, with the rig crashing into the grass in front of it. Thankfully, the ground was soft, and the camera and kite weren’t damaged at all. The rig did sustain some damage though, since it took the brunt of the impact when it came down. The bottom part of the frame came unglued along two edges; nothing that can’t be repaired!

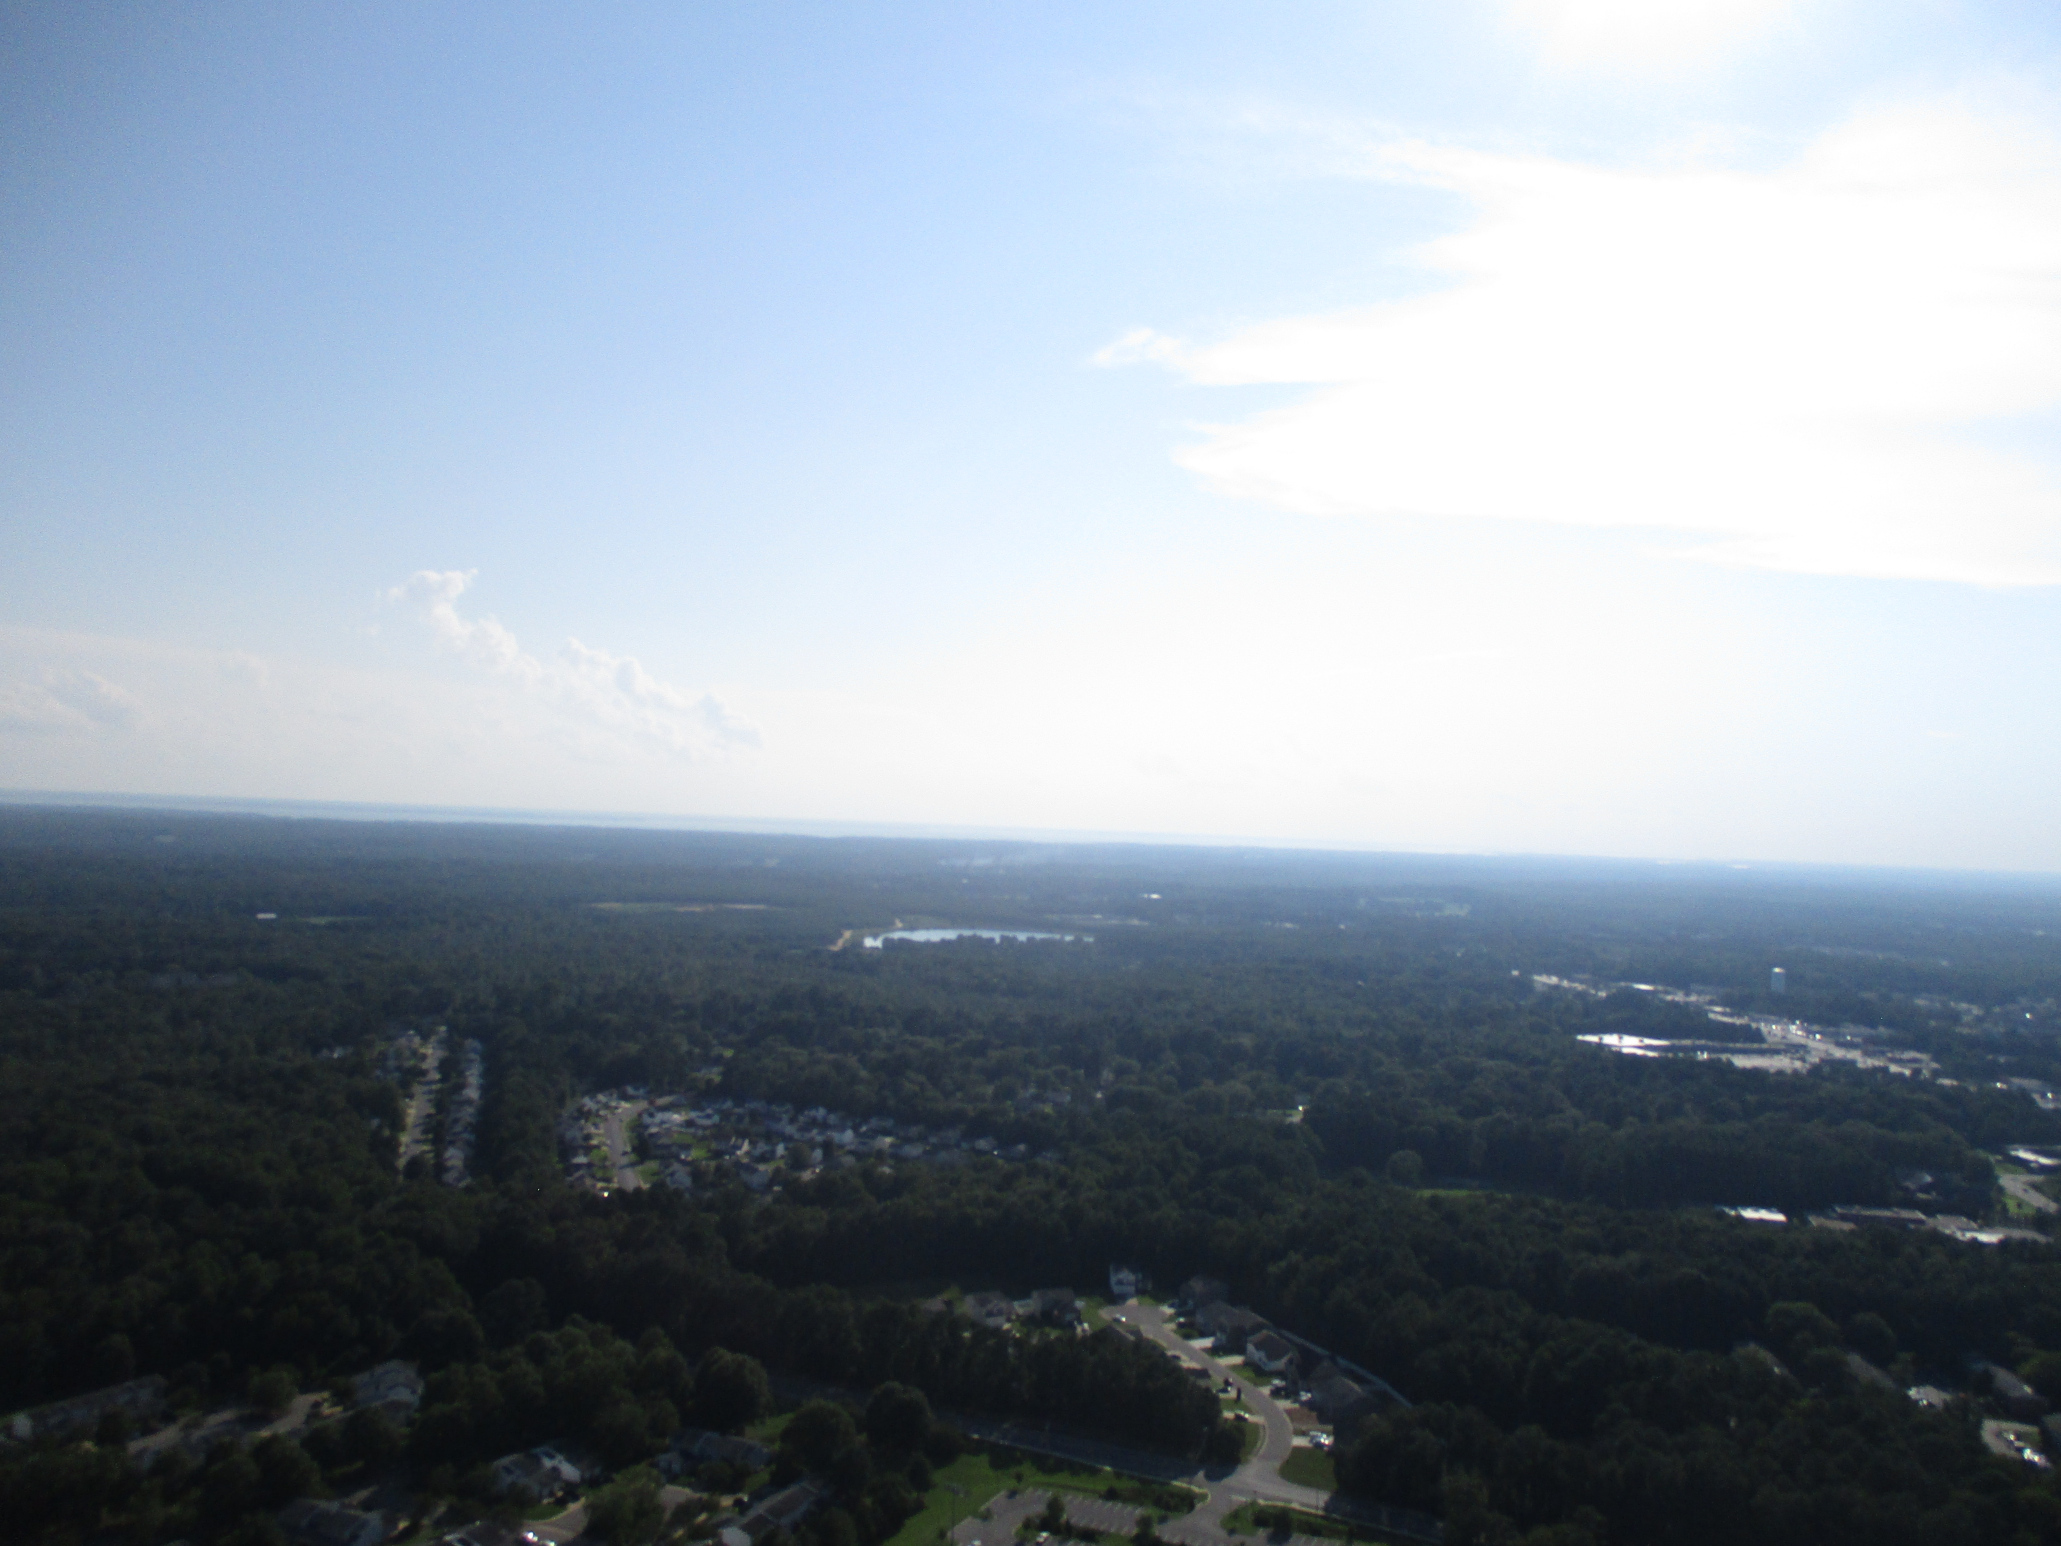
The pictures themselves turned out a little disappointing. They were definitely high, but the quality wasn’t as good as I had hoped for. I realized that this was due to a few problems. First, the shutter speed wasn’t fast enough. The maximum speed was less than 1/1000 sec, which resulted in a lot of the pictures having motion blur. Second, the camera being attached very close to the kite, which meant that any motion of the kite was transferred right to the rig. Having a relatively slow shutter speed only made that worse. Third, with the camera pointed level, the it had to keep adjusting the exposure as it swung towards the bright sky and then the darker ground below. As a result, lots of the photos were overexposed or underexposed. And finally, I was trying to take pictures towards the sun, which just made properly exposing the photos more difficult. A couple of the pictures did turn out okay though, as you can see above and below.
So, even though the pictures didn’t come out quite as nice as I hoped, I learned a lot of things from this session:
- Fly the kite first, then attach the rig at least 50 feet below, while the kite is already flying. This way, the rig doesn’t significantly affect the stability of the kite, the camera moves around less, and there’s not as much worry about it crashing into the ground while the kite is being let out or brought back down.
- If using a camera without built-in shutter speed control, use the KAP UAV Exposure Control script in CHDK to make sure the shutter speed is 1/1000 sec or faster.
- Even when taking landscapes off into the distance, it’s best to angle the camera down at least 10 degrees. That way, you get more ground than sky in the shot, and the camera will struggle less with constantly-changing light levels.
- Generally speaking, it’s better not to take pictures towards the sun. The subject will be shadowy and the sky overexposed. If you are using a good camera (particularly one that can save RAW images for editing later) and you know what you are doing, you can still get good results, though.

One thought on “Lancaster Park – Take Two”